 In today's art tutorial, I will walk you through the steps to draw two different shamrock doodles. If you can draw simple shapes like circles, parentheses, straight lines, and hearts, then you can easily draw your own bundle of shamrocks! Doodle them on home-made greeting cards, bullet journal spreads, craft projects, ornaments, or anywhere else you might want a lucky shamrock. Supplies You Need:
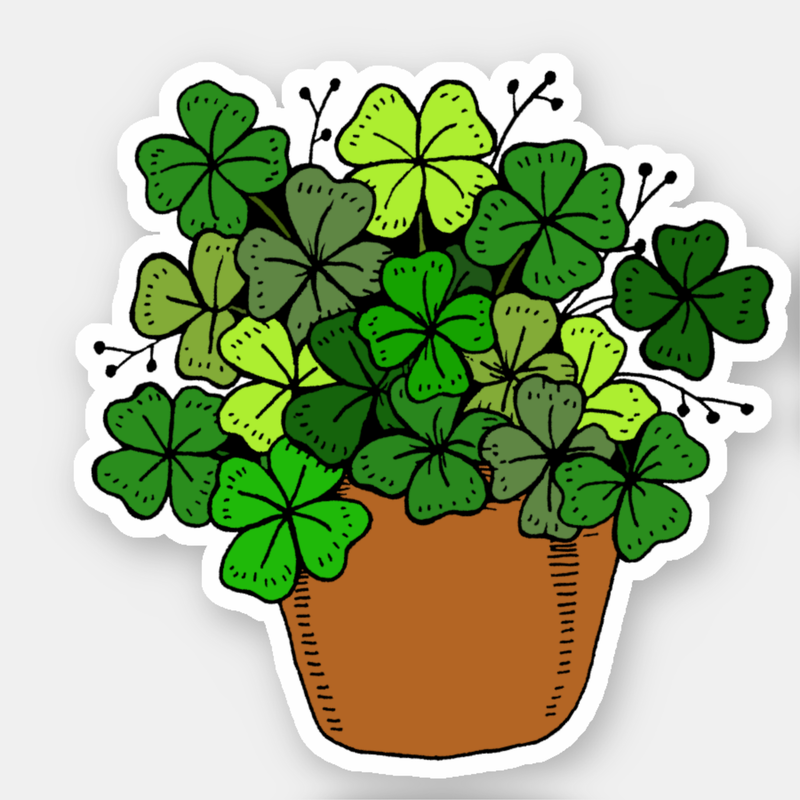
Ready? Let's draw! 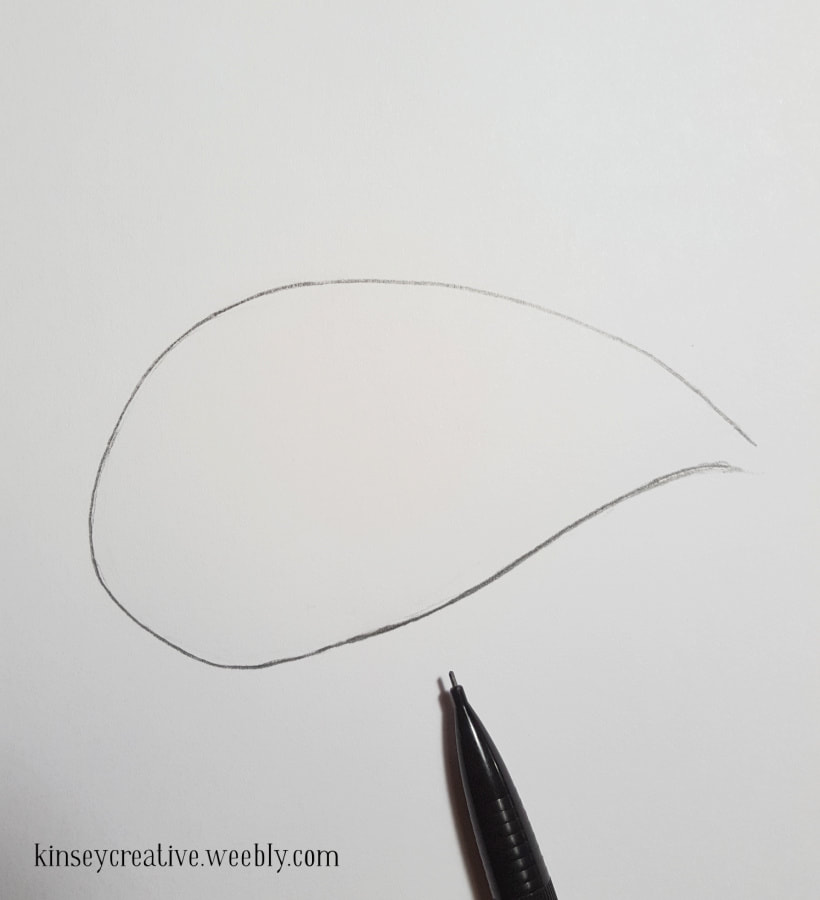 Step 1. Step 1. Start with a small circle. (And I recommend sharpening your pencil more than I did here.) 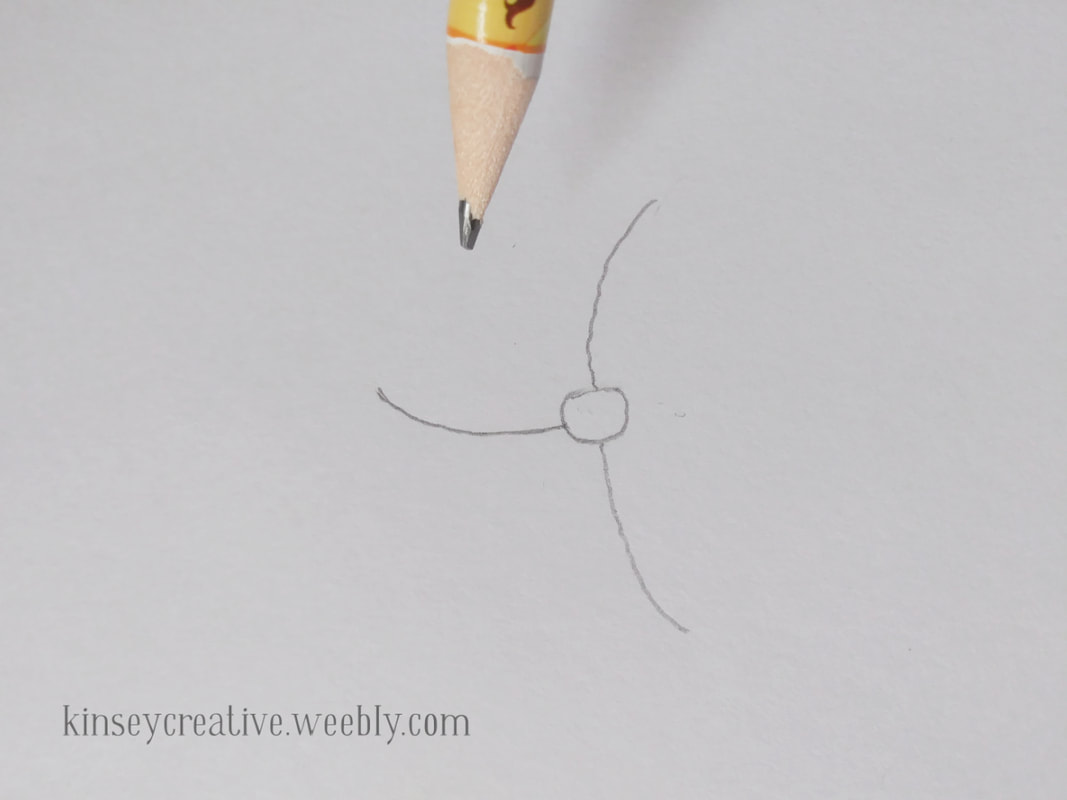 Step 2. Step 2. Make three, somewhat evenly spaced lines that are slightly curvy. Sort of like fan blades, coming off the center of your shamrock. 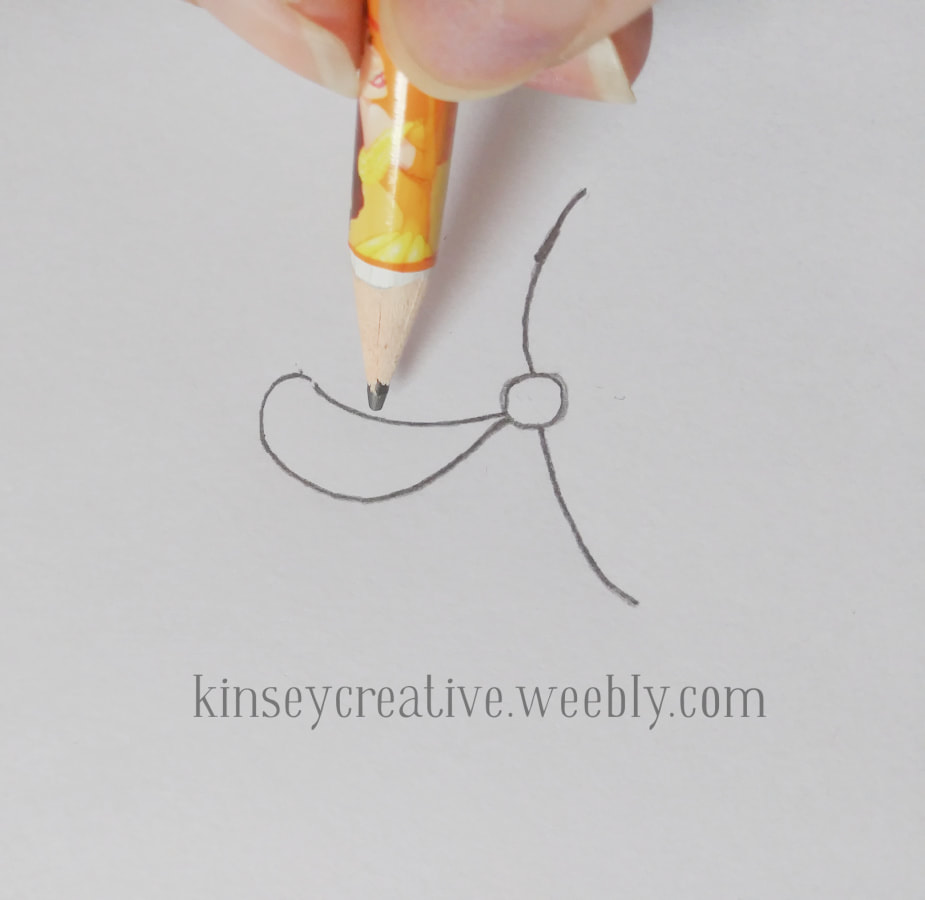 Step 3. Step 3. Take one of the lines and turn it into a rather long tear drop shape. It is actually half of a heart shape. 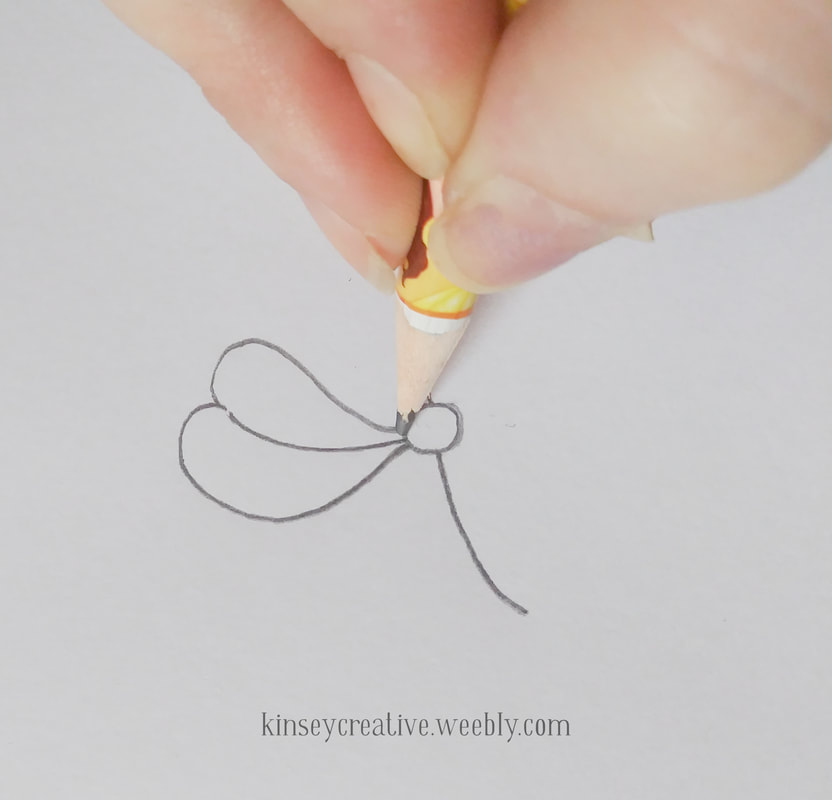 Step 4. Step 4. Do the same on the other side of that line. This creates one leaf, and it looks like a heart with the line down the center. 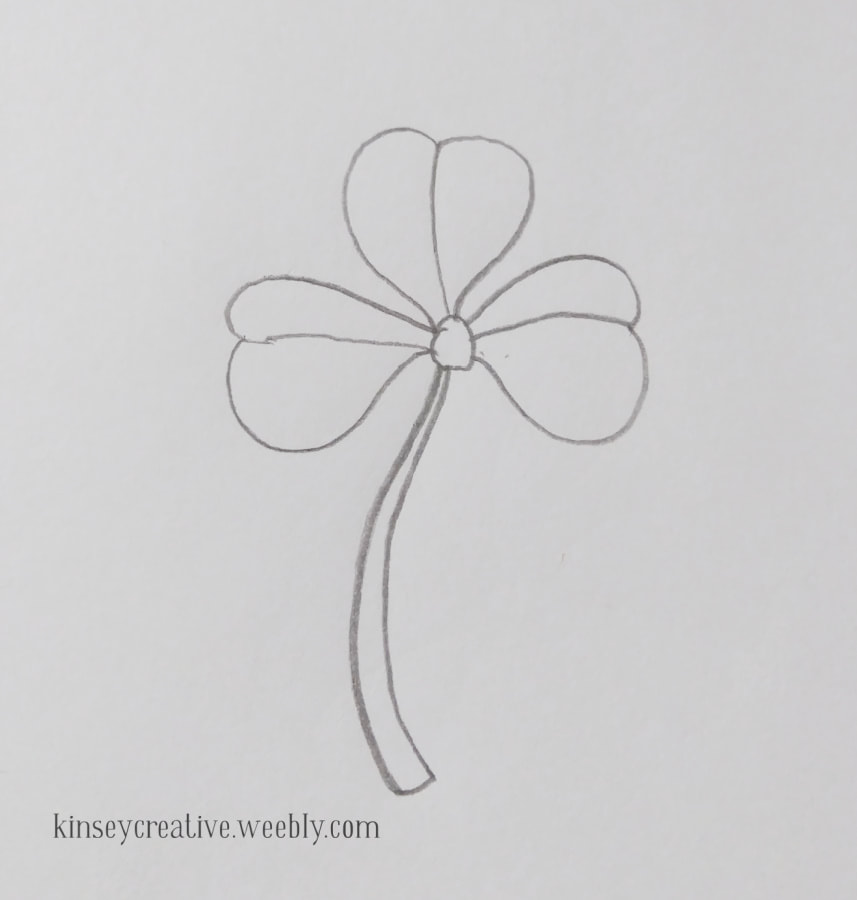 Step 5. Step 5. Repeat for the next two leaves. Then make a stem by drawing two long, curvy lines down from the center, and connecting them at the bottom. 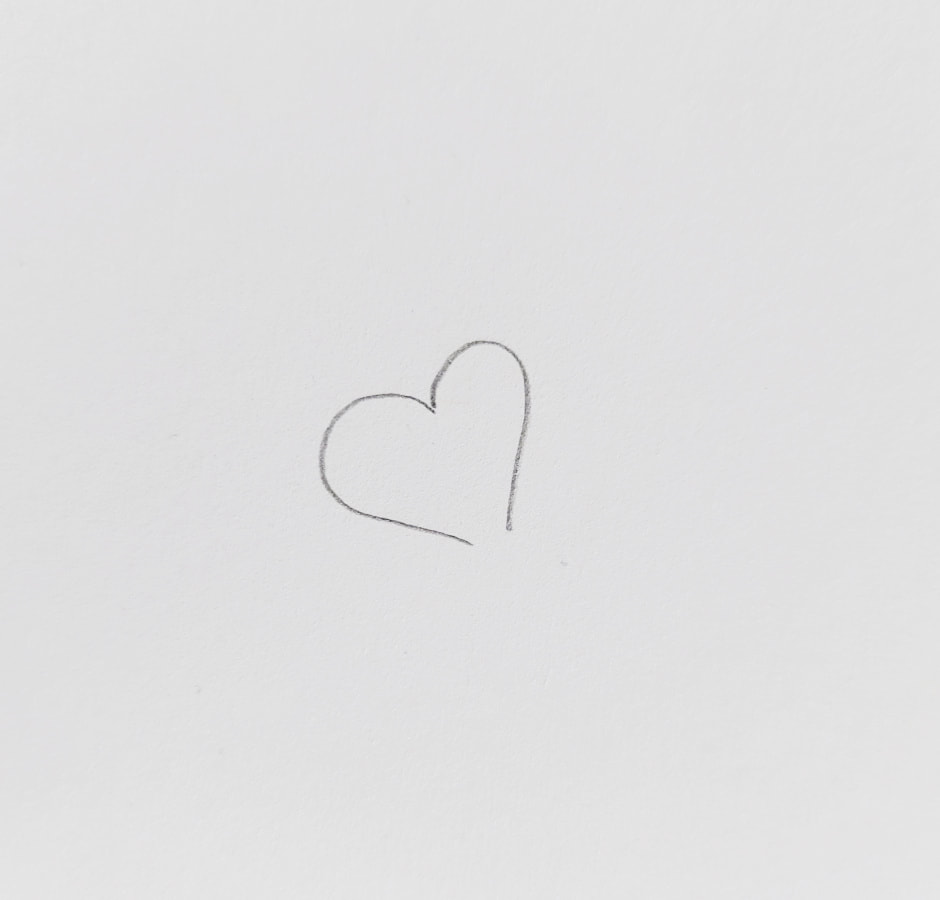 Step 6. Step 6. For the second shamrock design, we don't make the three "fan blade" lines. Instead, start with a chubby heart shape. But leave it open at the bottom. 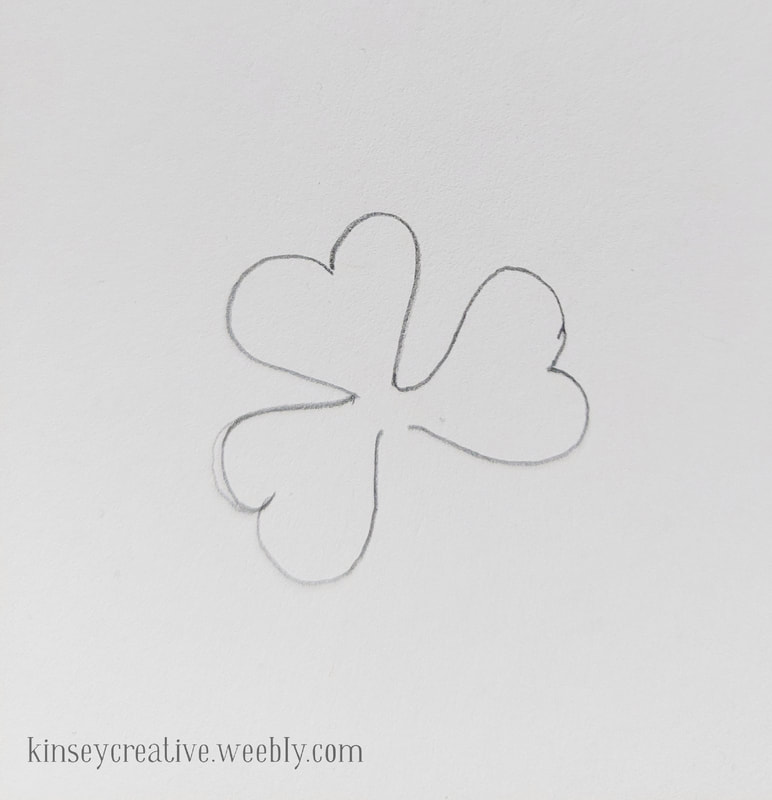 Step 7. Step 7. Draw two more heart leaves, connecting them at the base, and spacing them somewhat evenly apart. Remember in nature things are exactly perfect, and this is a doodle, so don't worry about making them perfectly the same. 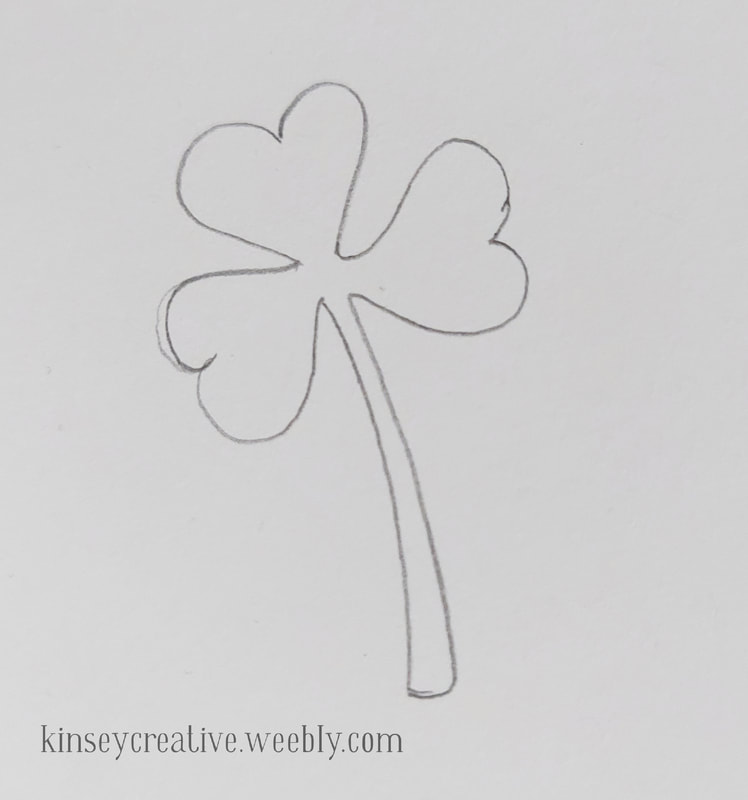 Step 8. Step 8. Add a stem the same way as above. Now it is time to ink them in! 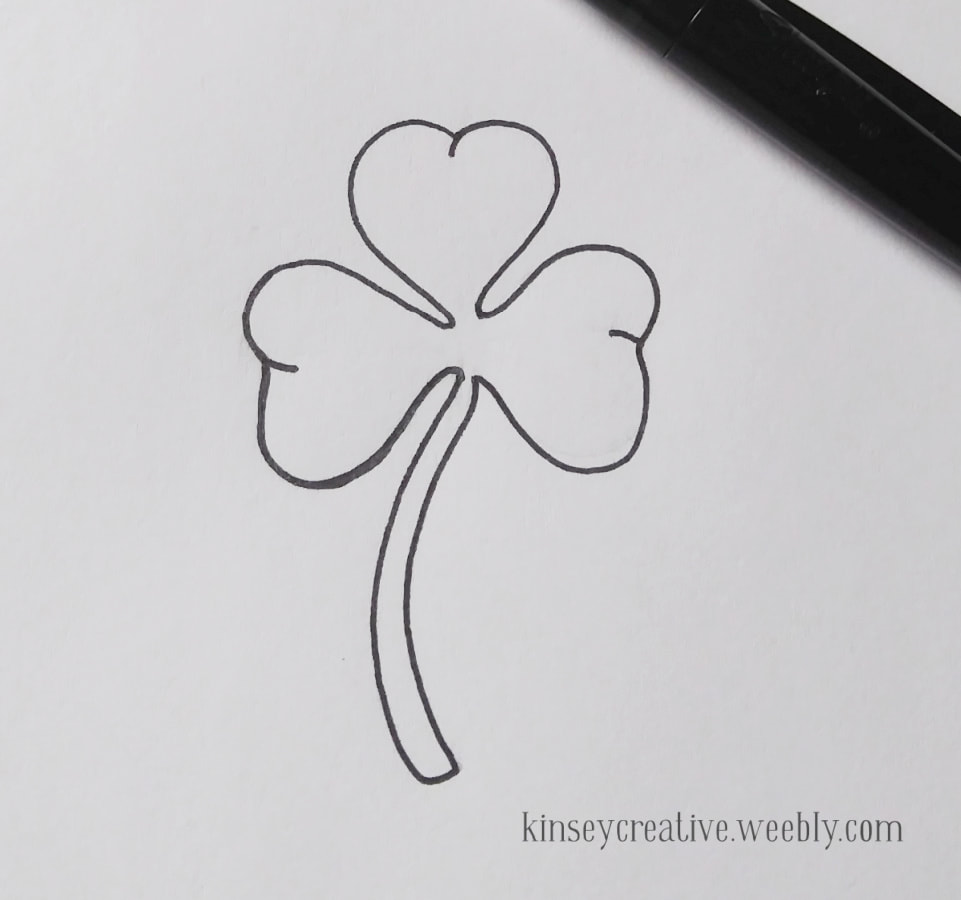 Step 9. Step 9. Carefully trace over doodle with a pen. Only go over the lines you want to keep. Once the ink is dry, gently erase any remaining pencil marks.  Step 10. Step 10. Go a little crazy and doodle several sizes and styles of shamrocks. Add other doodles between them if you want, or even add some patterns to the leaves. When you have as many as you want, it is time to color them in. 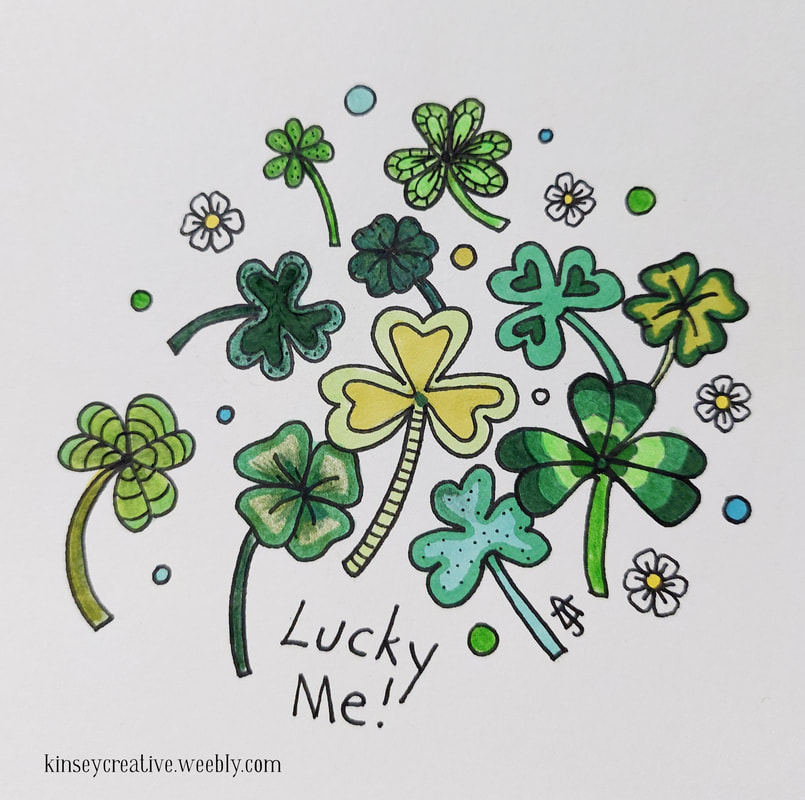 Step 11. Step 11. Color your doodles in, if you like. They also look good as just line art. You can use colored pencil, marker, crayon, watercolor...whatever you like best. For the sample above, I used both marker and colored pencil. And done! Now you have a fun motif to add to your journals, cards, notebooks, or practice sketchbooks. If you enjoyed this tutorial, you might like these "How to Draw" posts as well.
0 Comments
Leave a Reply. |
Archives
March 2024
|
 RSS Feed
