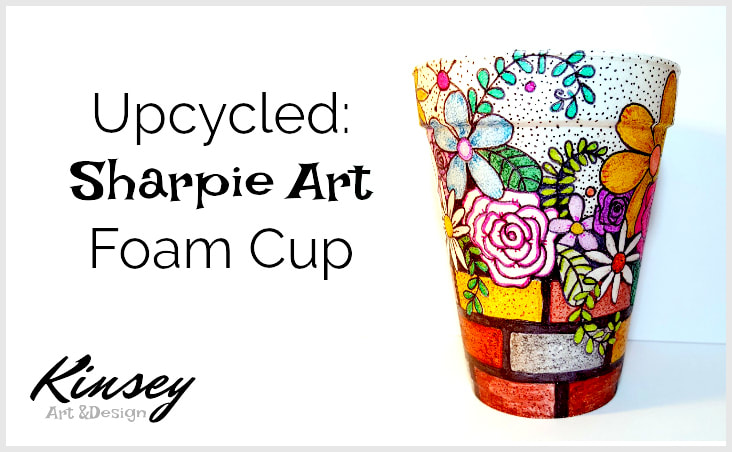
What' s better than Sharpie art?
Upcycling! Just kidding. Sharpie art is the best. But upcycling things is cool too. Especially when you use them as a canvas. Drawing on styrofoam cups might never be considered "pro" stuff, but it's fun and maybe it keeps one cup out of the landfills a bit longer. For this project, I brought home the cup I was using at a family get-together. I'm always looking for things to use in my office for holding pens, pencils and more pens. Why not a tall foam cup? Here are some photos of my Sharpie art in progress, in case you need an excuse to doodle on your own cups:
*Post may contain affiliate links. If you buy through my links, I earn a small commission (at no extra cost to you) that I will immediately squander on art supplies. Read more here.*
1. Start with a Cup
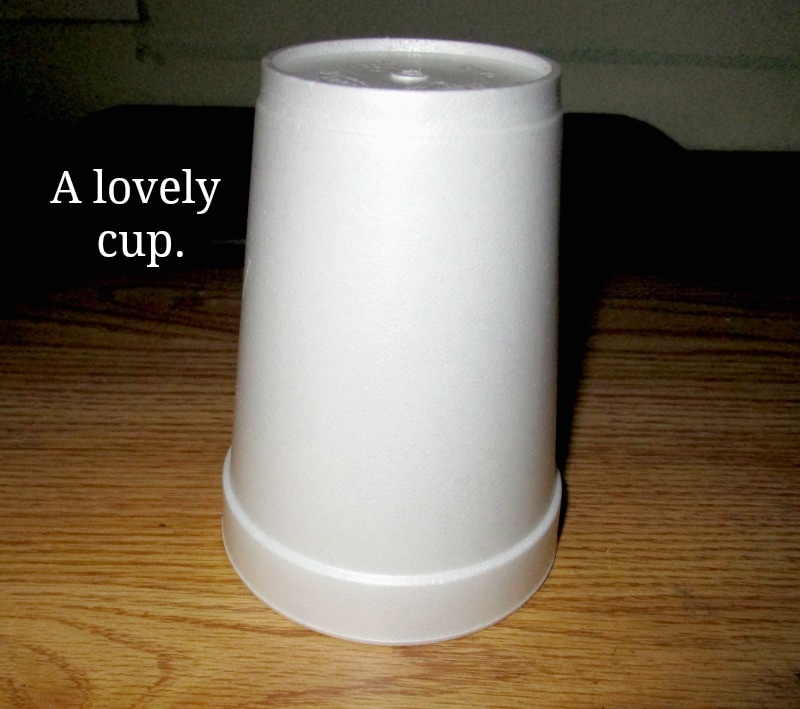
It doesn't hurt to wash it inside and out. Markers don't like to doodle over greasy fingerprints. If you don't have a used cup handy, you can get them here. (Once you start making them, it can be a bit addictive.)
2. Secret Weapon 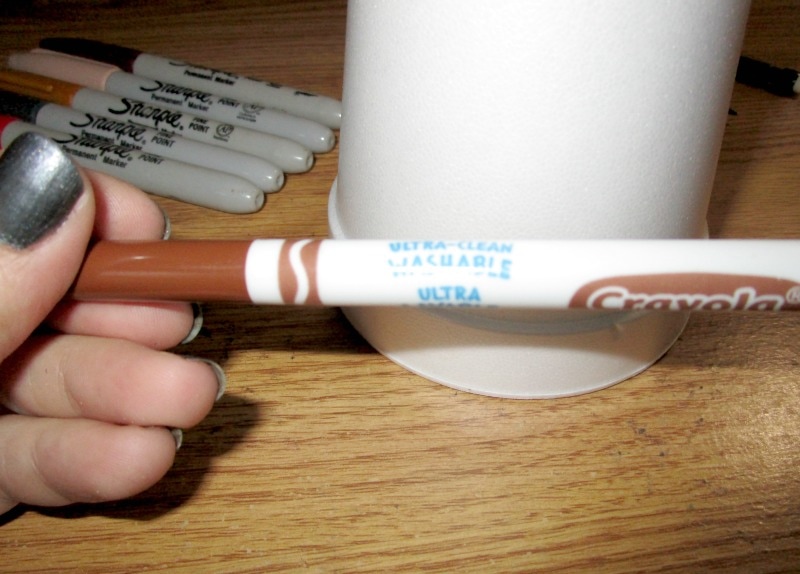
Crayola washable markers are the best for sketching on the foam. You can rinse away your sketch lines easily after your permanent marks are in place. No scrubbing required. I recommend using either brown or gray. They wash away easily or you can blend them in with your permanent ink when you start coloring. 3. A Few Sharpie Markers 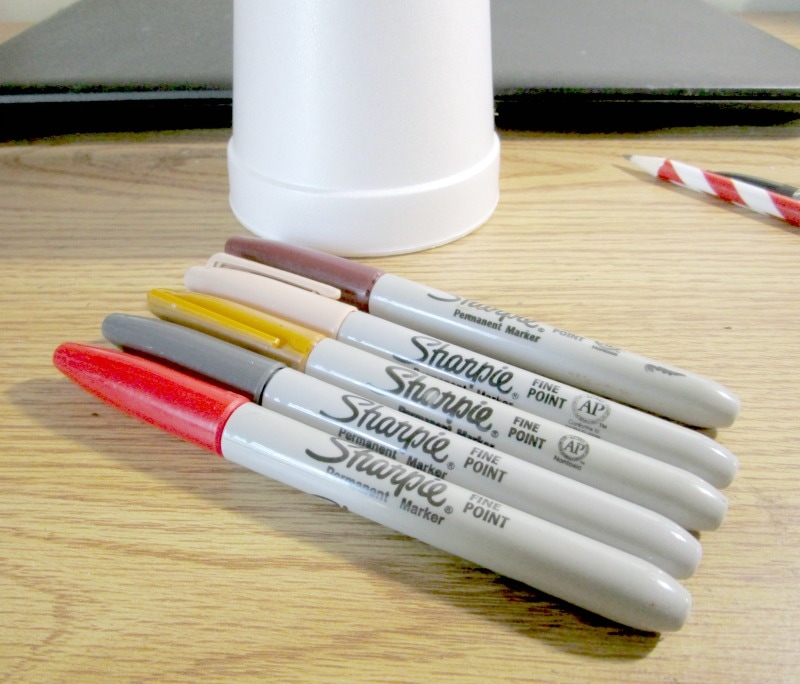
Pull out your favorite Sharpie markers. I also use some Bic permanent pens for a little shading variety. I've only recently added them to my collection and so far I really like them for certain inking projects.
4. Start Doodling
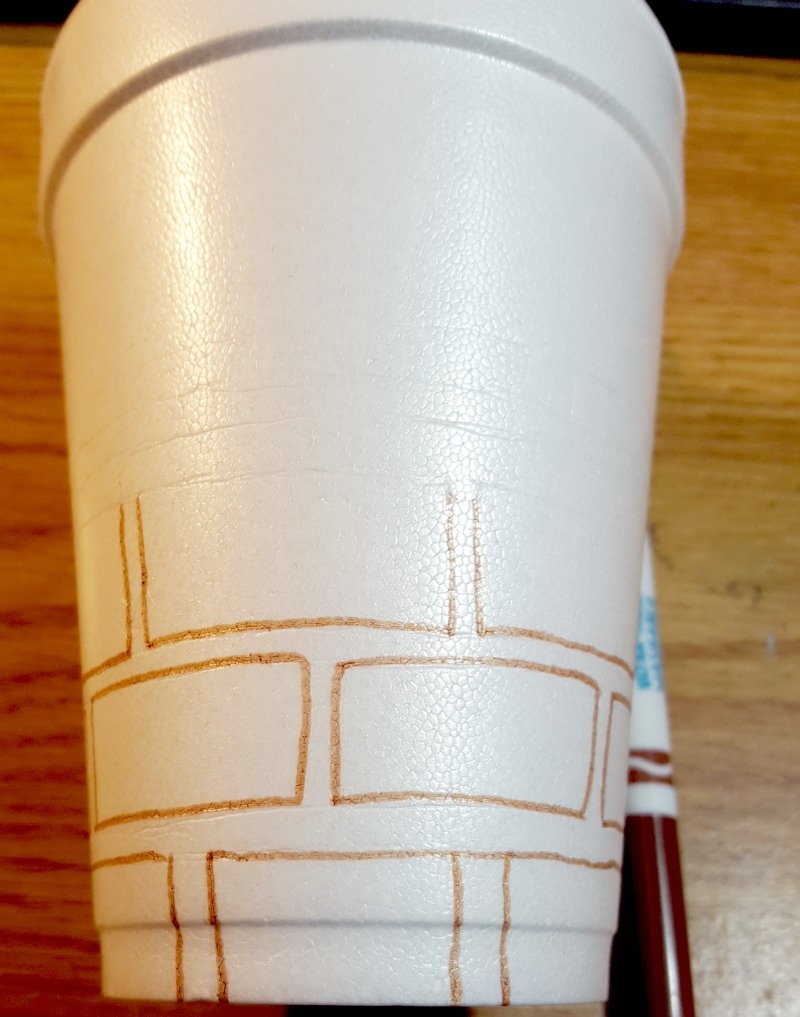
I knew from the moment I decided to bring the cup home that it would be doodled to resemble a brick flower bed.
5. Add Some Details
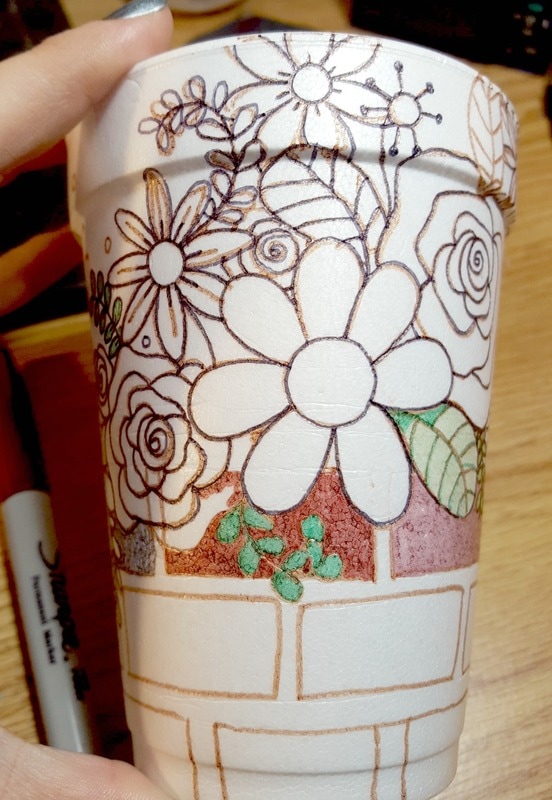
The cool thing about using the washable Crayola marker is that if you decide you need a line erased, you can remove it easily with a damp cotton swab. 6. Outline, Rinse and Color 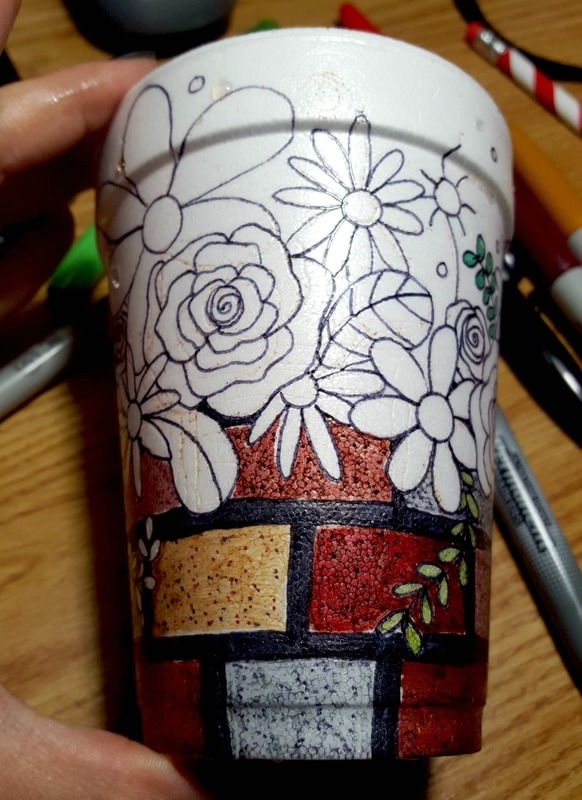
Multiple stuff going on in this step because I forgot to use the camera. First, I outlined all the shapes with my black Sharpie Ultra Fine. Then I filled in the bricks because I was impatient to see what they looked like... Next I took the cup to the sink and ran some water over it gently (don't rub!) and the washable lines disappeared. Poof. Sadly, I did press too hard when sketching and you can see some dents. Don't do that. But if you do, don't worry, it will be practically invisible after you color your design in. There are also some white gaps where the permanent ink didn't quite meet the washable ink. That's okay. Can be easily touched up! Oh. And you do have to let the cup dry before you do any more coloring. 7. Finished Doodle 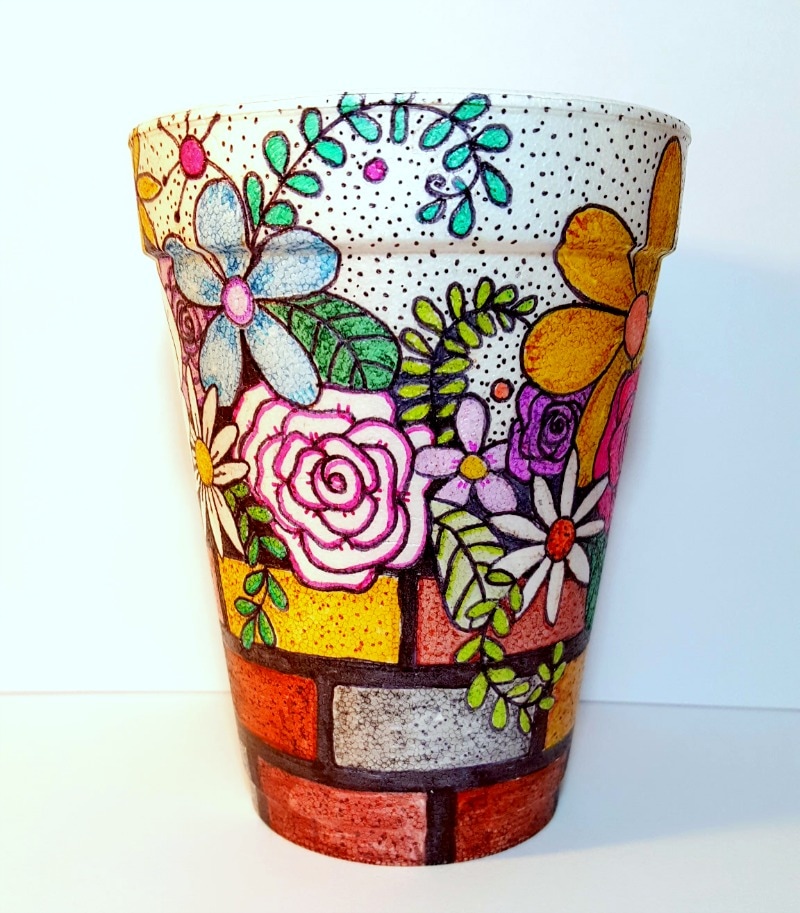
Done. I like how drawing on foam adds instant texture. (Sorry about the photos, I was having a bad lighting episode. Four of my bulbs blew in the middle of the project. Blah.) 8. Upcycled Sharpie Art Cup Hard at Work 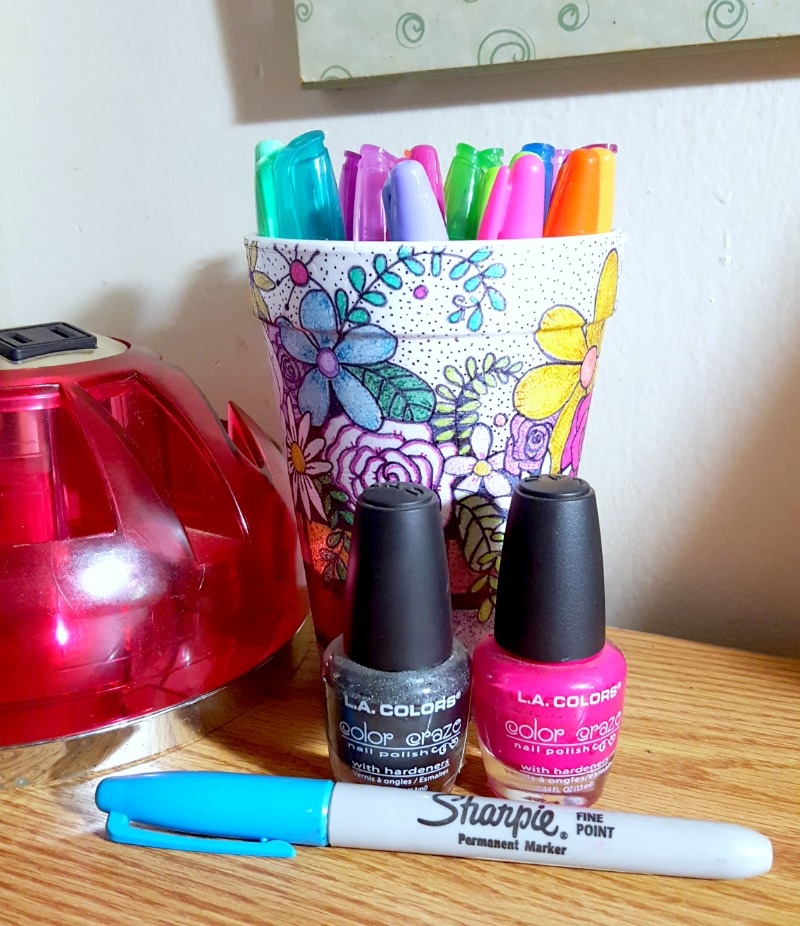
Is it perfect? Nah. But it's doing it's job holding pens and looking all bright and artsy on the desk. (and the nail polish colors are part of my "mood board" stuff I keep around for inspiration.) Hope you enjoyed! You might want to check outthis tutorial on my other website about drawing on foam cups to make party favors. :) What is your favorite "non-art" thing to Sharpie doodle on?
0 Comments
Leave a Reply. |
Archives
March 2024
|
 RSS Feed
