 In today's drawing tutorial, you can learn how to draw a silly jellyfish doodle. This is one of those quirky little things that are fun to draw in the margins of your notebooks to pass the time, or in your journal when you just need something...different. Maybe you will never need to draw a jellyfish like this. But if you want to, then this is an easy tutorial for people of all ages. Like most drawings, it can be broken down into simple shapes, such as ovals, wavy lines, straight lines, and rectangles. If you can make those, then you can draw this jellyfish. You don't need any specialty art supplies either! Here are the supplies you need:
Got it all? Okay, let's draw! 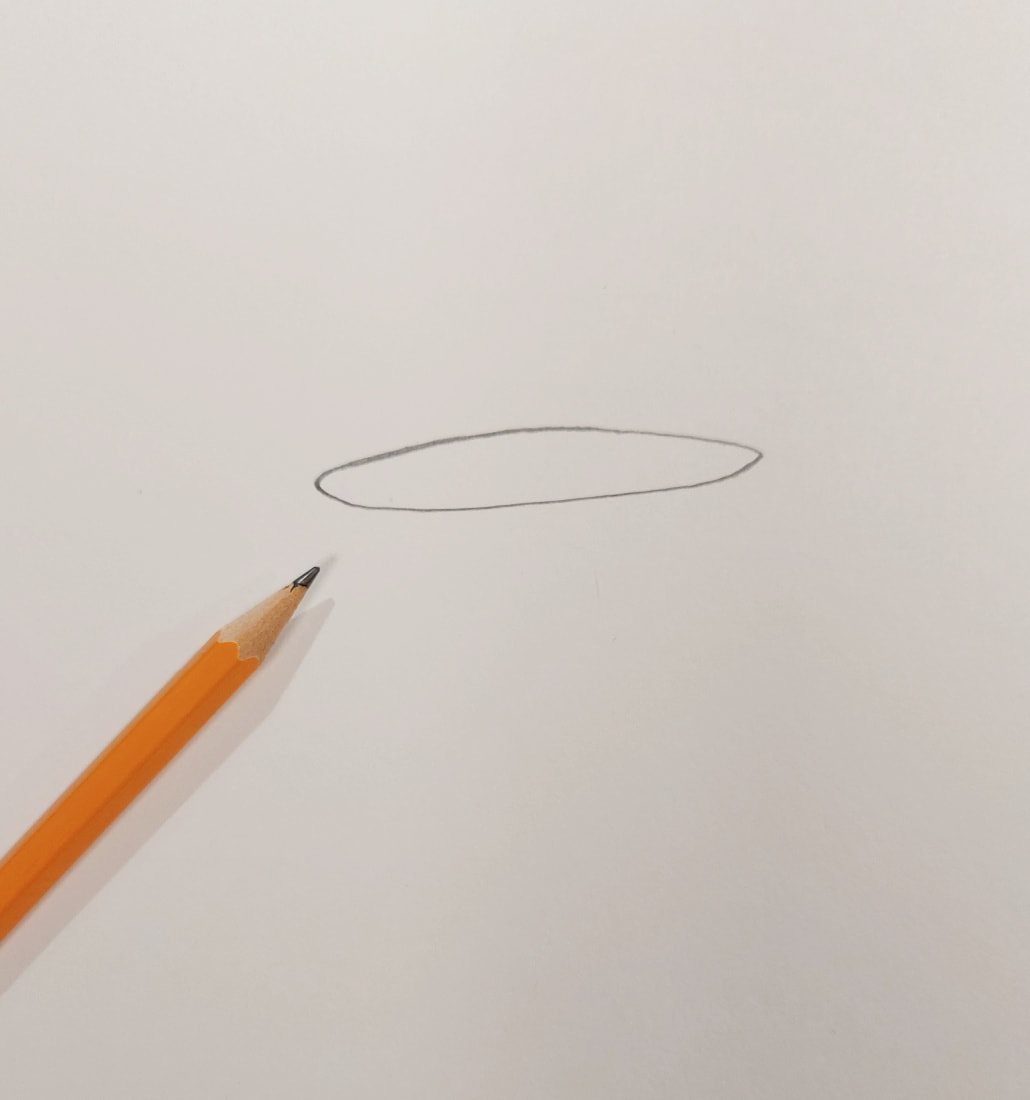 Step 1 Step 1. Draw a somewhat smushed oval. That will be the top of the jar lid. The size of the oval determines the size of the rest of your drawing. Don't make it too small or it will be hard to add in details later. 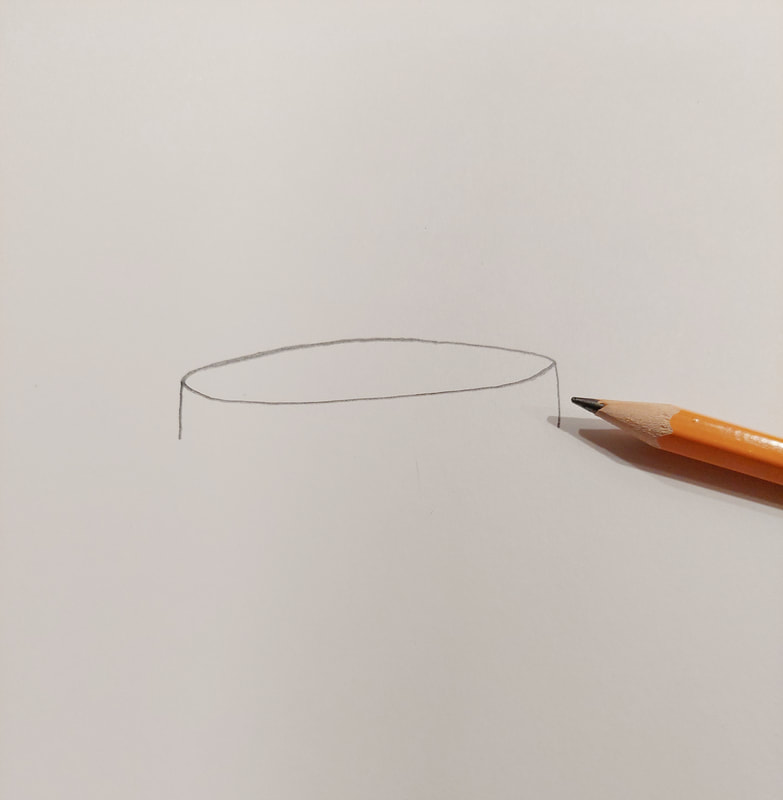 Step 2 Step 2. Draw two short lines on either end of the oval.  Step 3. Step 3. Connect the lines from step 2 with a slight curved line to make the bottom of the lid. 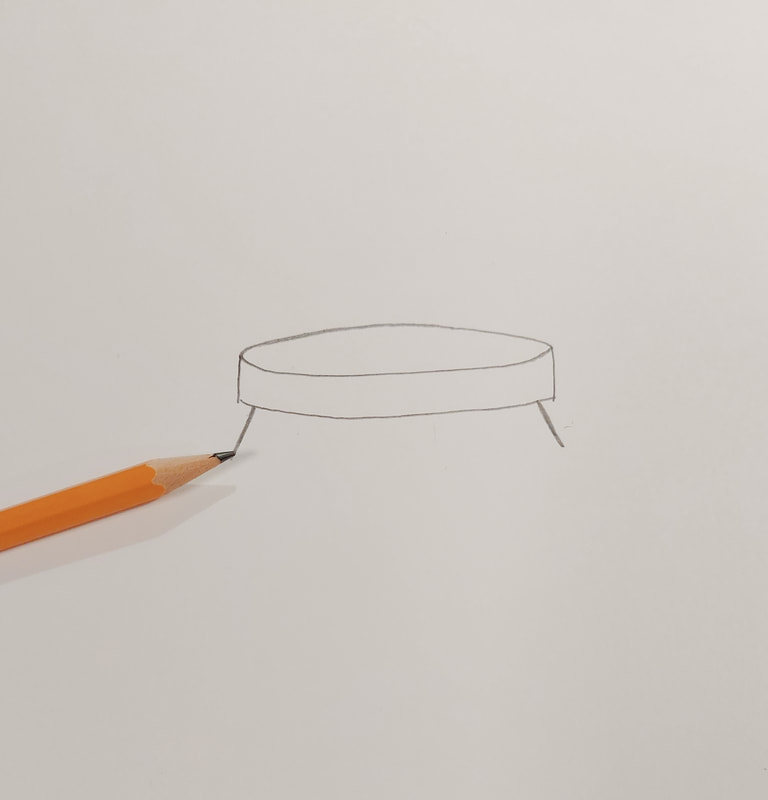 Step 4. Step 4. Draw two short lines that slant slightly outwards. Start them slightly farther in than the edge of the jar lid, so that the lid "overhangs" them on each side some. 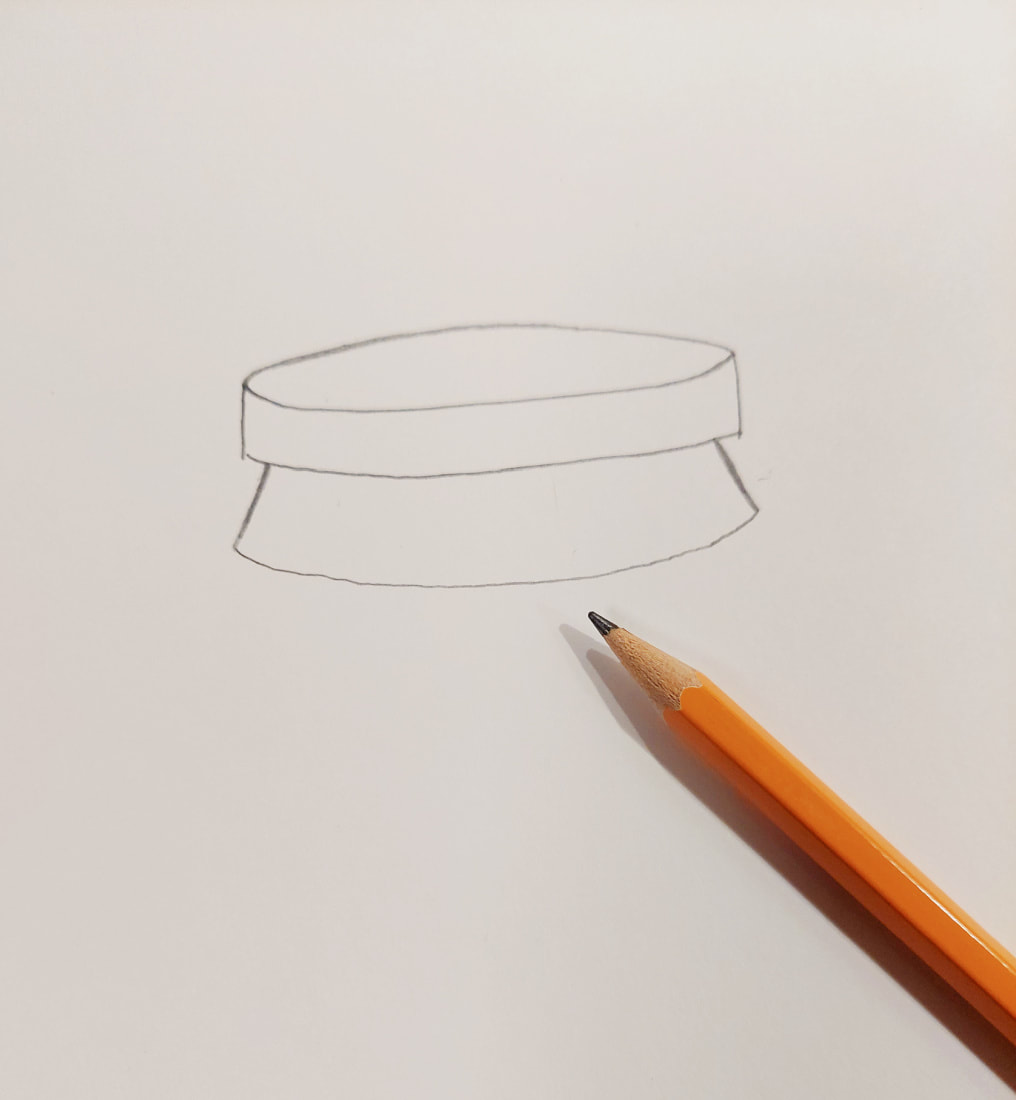 Step 5. Step 5. Connect both of those slanting lines with a curved line. It doesn't have to be perfect. 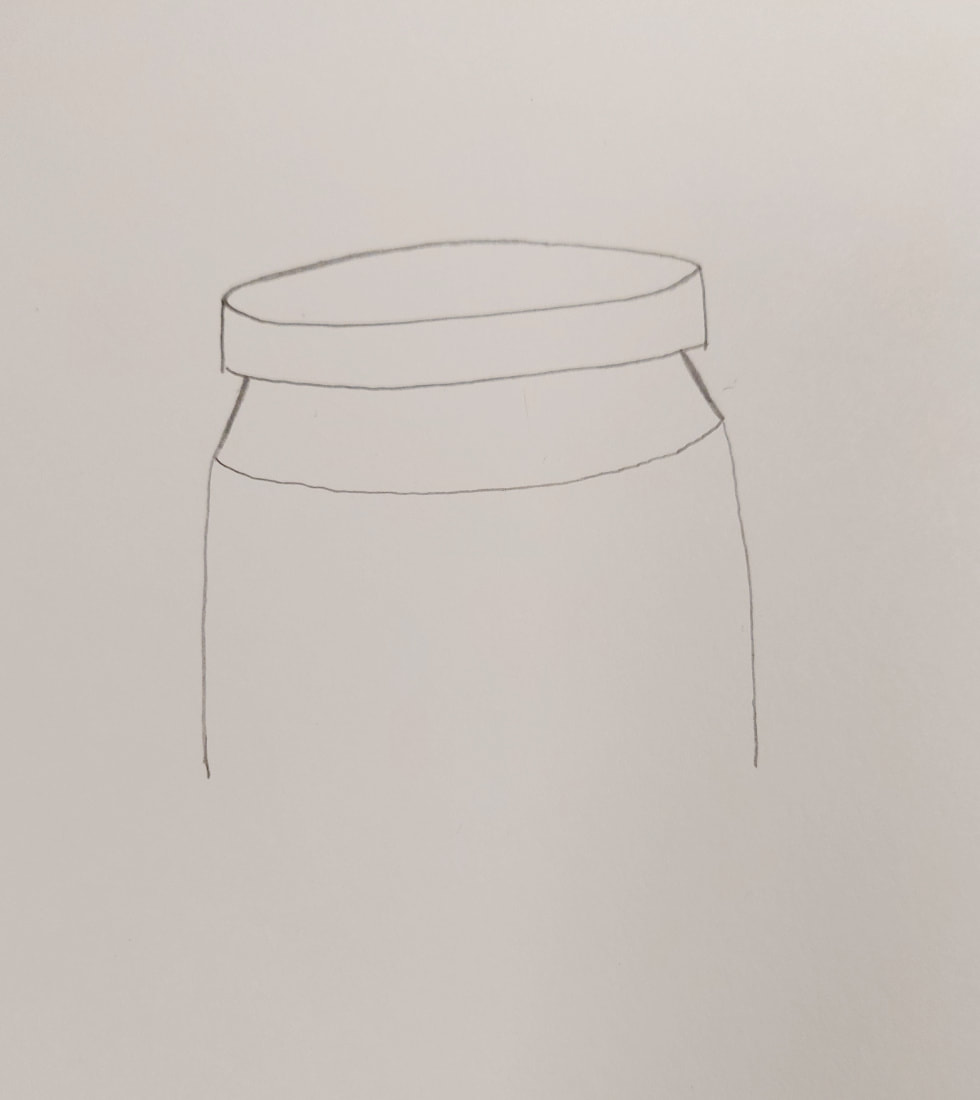 Step 6. Step 6. Make two lines down, to create the sides of the jar. You can make them straight, or slightly curved like I did here. You can also make them as long or short as you want your jar to be. I'm making a short, chubby jar. 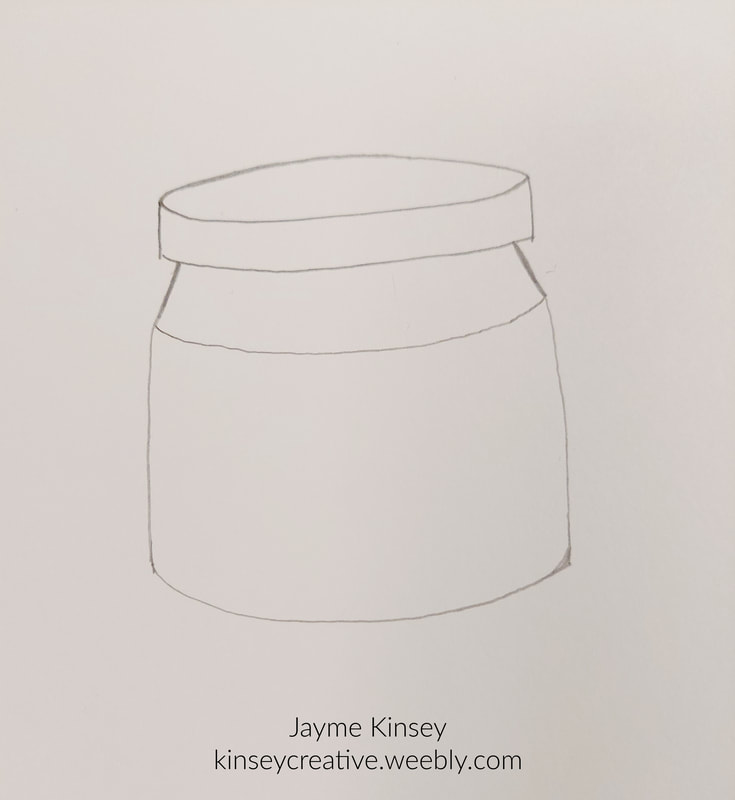 Step 7. Step 7. And connect those lines with another curved line, to make the bottom of the jar. Look at that cute jar. Its almost perfect just as it is. But it will be better with tentacles...  Step 8 Step 8. Draw several wavy lines from the bottom of the jar. Don't use too many, or set them too close. The need some space between them for this next step.  Step 9 Step 9. Finish drawing the tentacles by drawing a matching line next to each one from step 8. Then connect them at the bottom. Now it looks more like tentacles and less like spider legs. If you have room, you can add some extra tentacles. 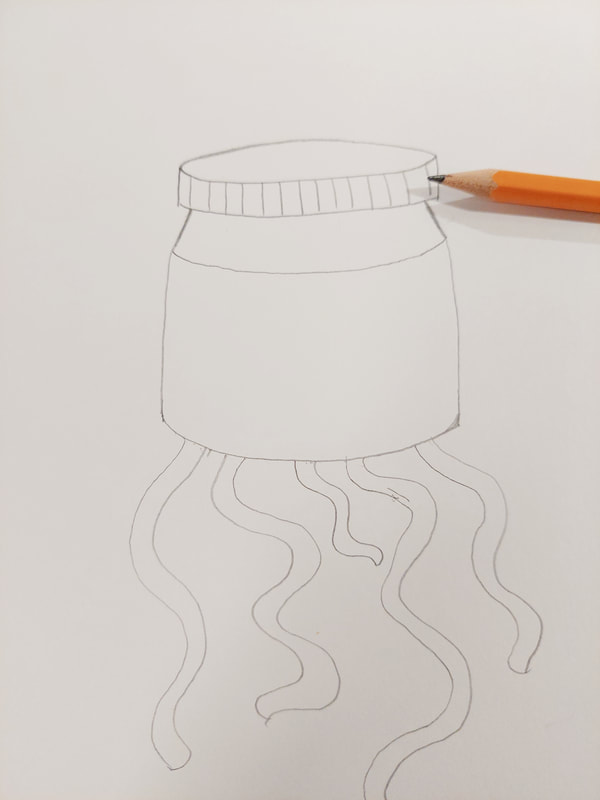 Step 10. Step 10. Some little short lines around the lid to make ridges.  Step 11 Step 11. Draw the label by making a loose rectangle on the front of the jar. Curve the sides of the label somewhat to match the curves of the jar. This makes it look like its on a rounded surface. 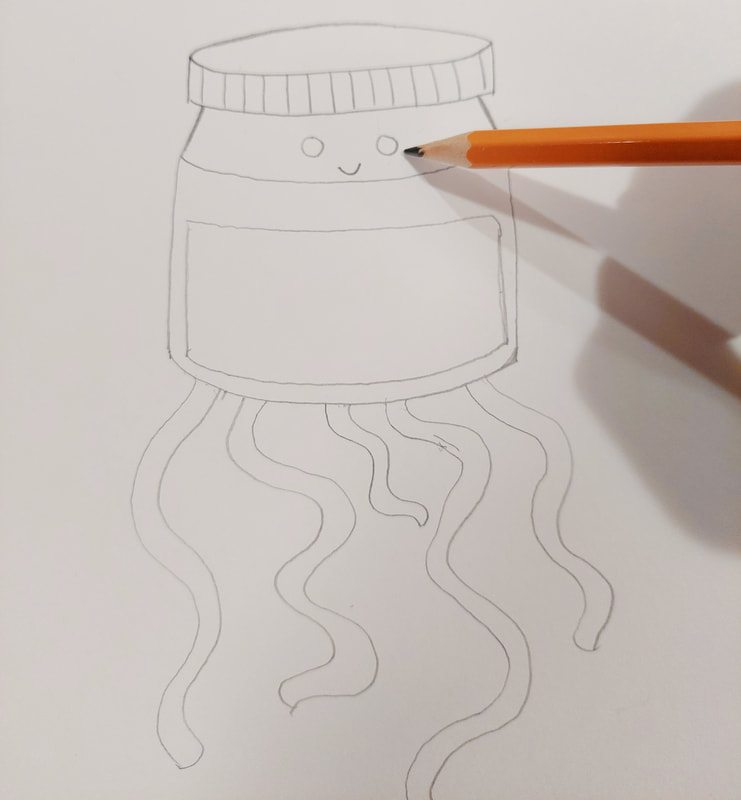 Step 12 Step 12 Draw a jellyfish face. Since real jellyfish don't have faces, you just have to use artistic license here and imagine what a jellyfish face should look like. I went with happy and cartoonish. 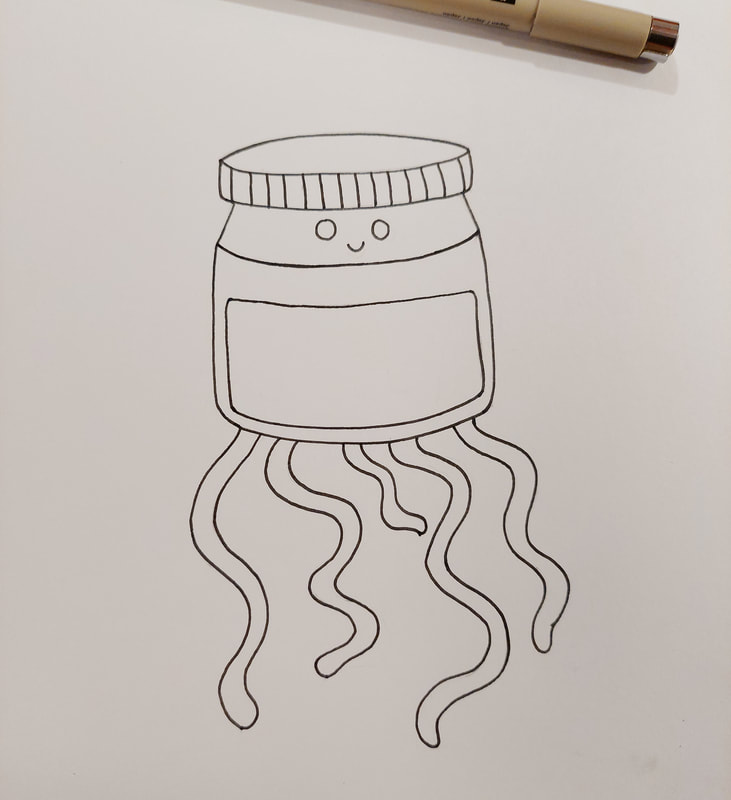 Step 13 Step 13. Once you are happy with all the details on your drawing, its time to ink it in. I use a Micron pen here for inking, but a Sharpie ultra fine, or a black gel pen would work too. When the ink is dry enough to not smudge, carefully erase all the extra pencil lines so you have nice, clean line art. 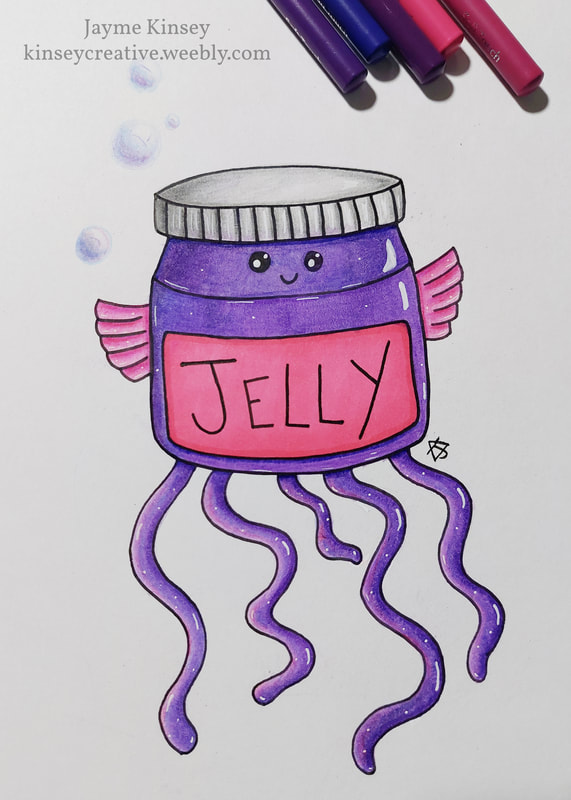 Step 14. Step 14.
Color your jellyfish drawing in and add writing to the label. You can color it in with whatever coloring supplies you like best. I used colored pencils here, and an acrylic paint marker to add the white highlights. I also added some fins to my jellyfish for the fun of it. Thank You for reading this doodle tutorial. If you had enjoyed drawing this jellyfish, you make some of my other drawing tutorials too, such as: How to Draw a Whale How to Draw a UFO How to Draw a Folk Art Chicken How to Draw a Pizza Slice Doodle
0 Comments
Leave a Reply. |
Archives
March 2024
|
 RSS Feed
