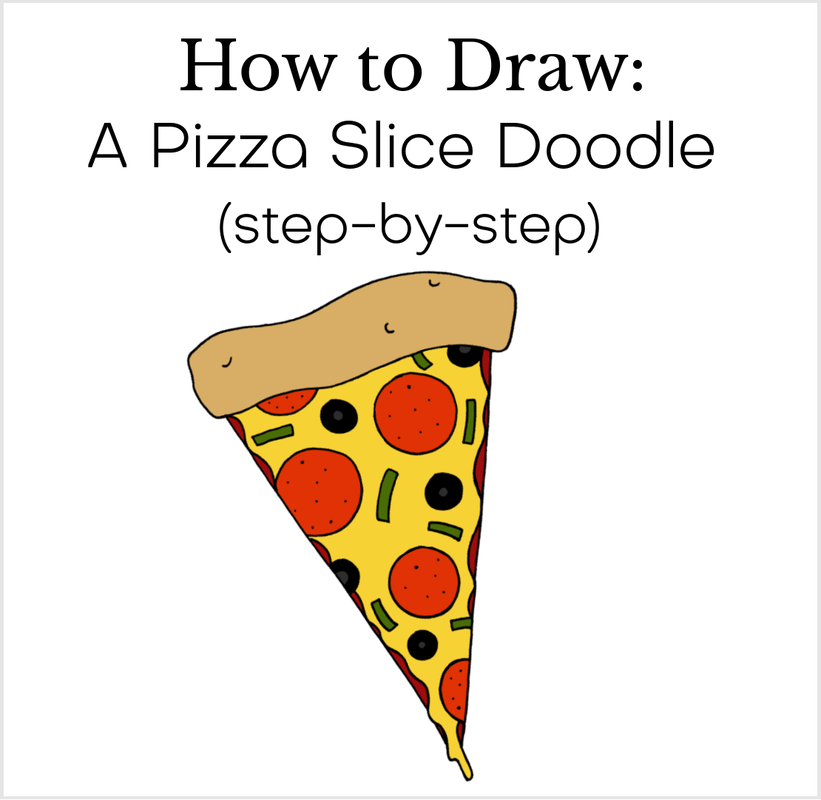
 In today's art tutorial, I'm going to help you draw a pizza slice doodle. This is a really easy one that anyone can draw, and you don't need any fancy or expensive art supplies. If you can draw some straight-ish lines, squiggles, circles, half circles and rectangles--then you can draw this! What You Need:
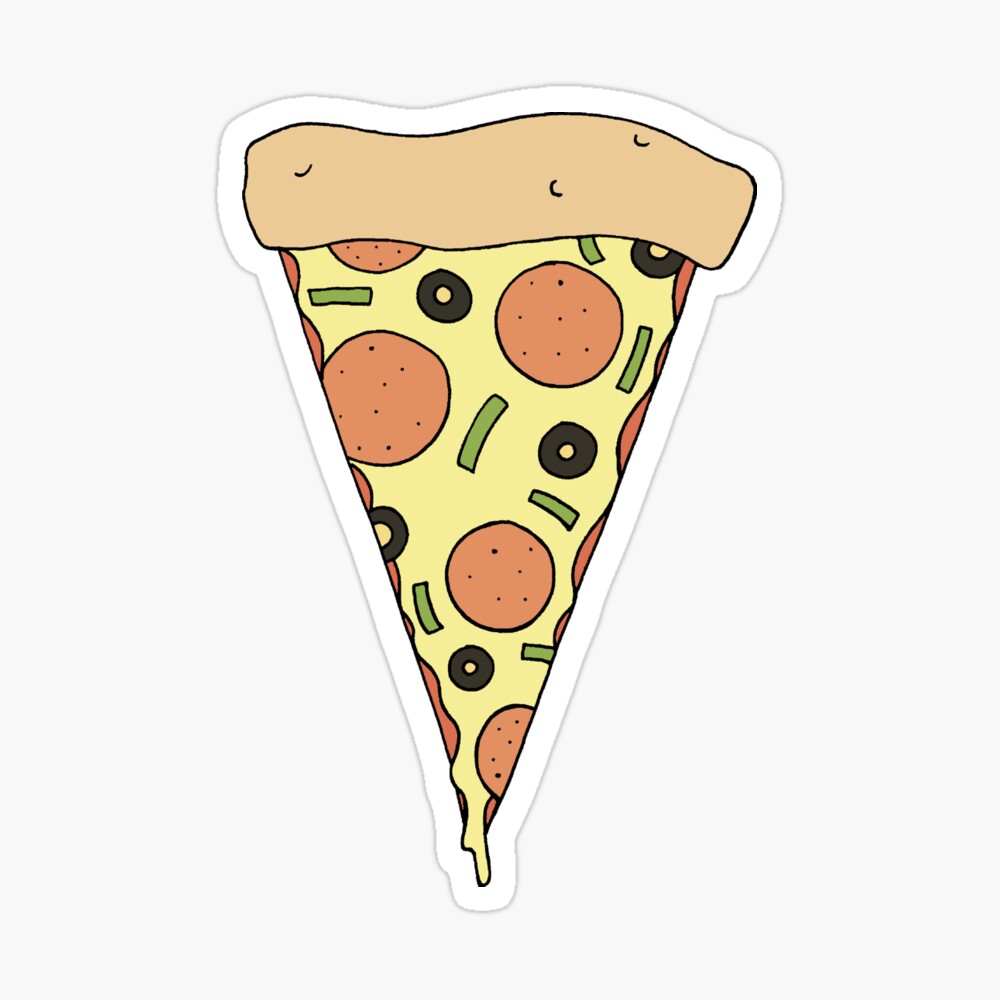
Let's draw something! 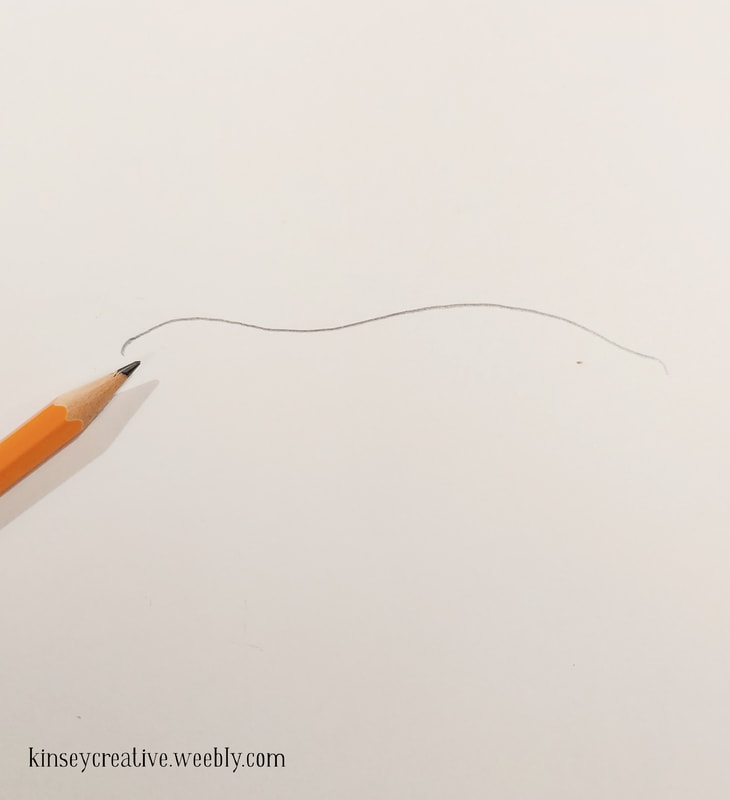 Step 1 Step 1. We are going to start with the crust. Just like making a real pizza. For this, you want to draw a softly wavy line. (Which is probably way easier than making real pizza crust.) However long this line is will determine how large your doodle is. 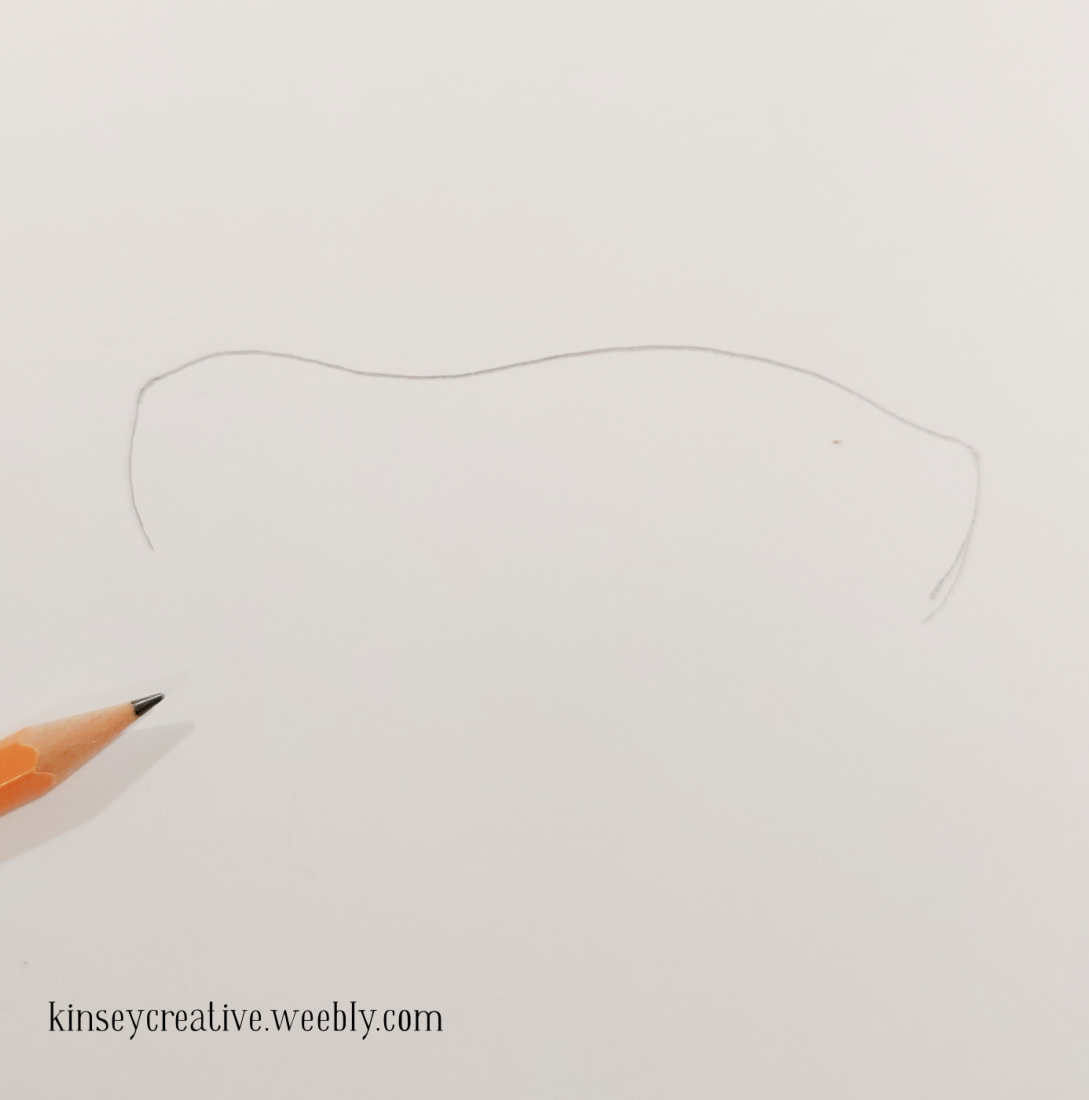 Step 2 Step 2. Make two curved lines on either end of your first line. (Think of parentheses.)  Step 3 Step 3. Connect those "parentheses) with another curvy line along the bottom. That makes that puffy bit of crust that you use as a pizza-holding handle when eating. 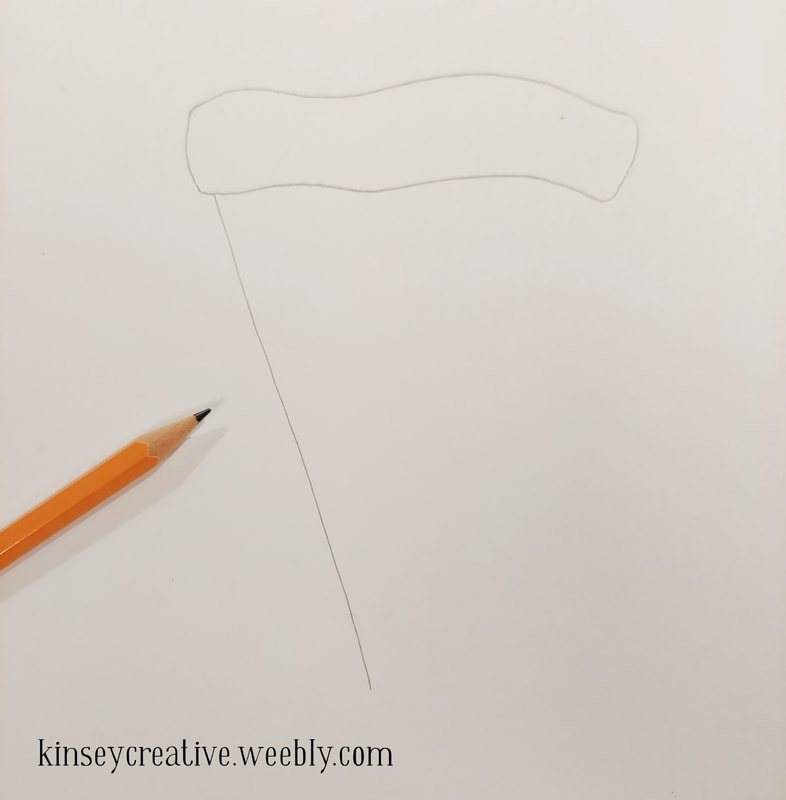 Step 4 Step 4. Since most pizza slices are triangles, you want to draw a slanting line downwards towards what will be the center of your slice. 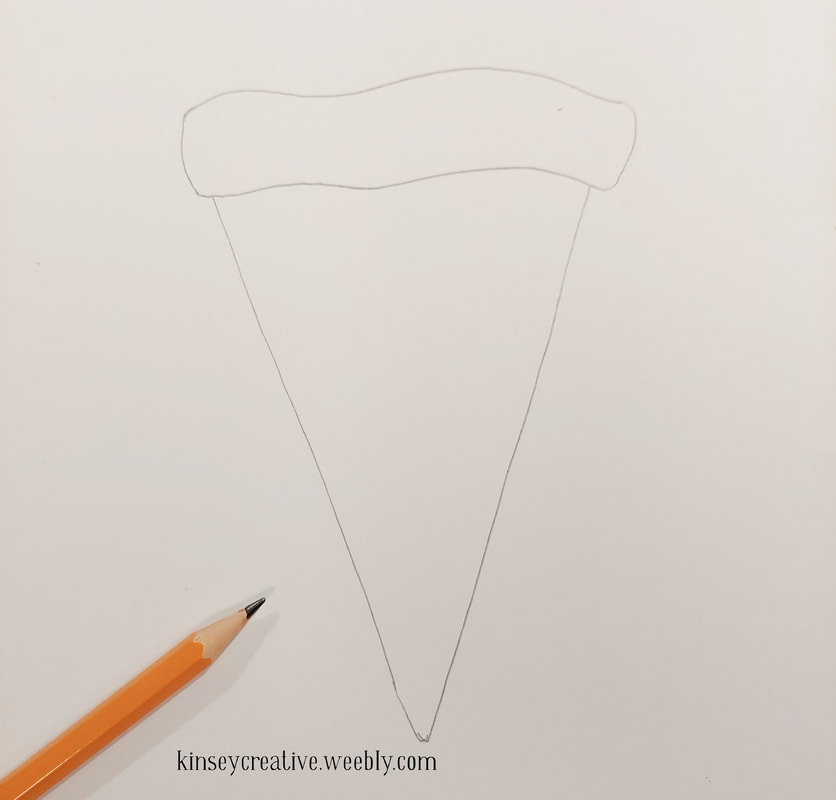 Step 5 Step 5. Repeat on the other side to make a triangle. Remember, this is a doodle, and its fun. So you dont have to go for a perfectly straight, even triangle. 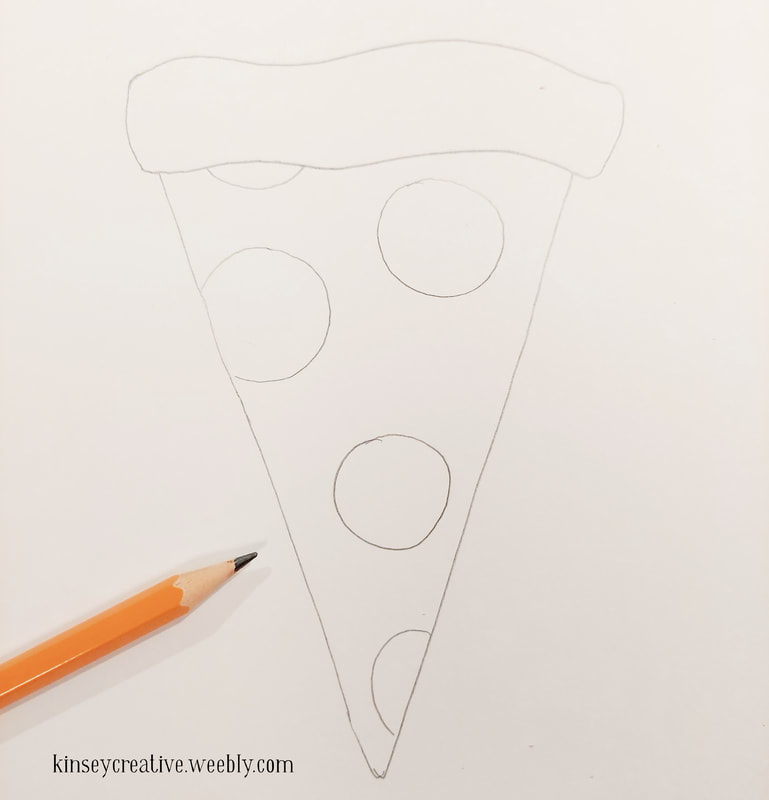 Step 6 Step 6. Pepperoni time! All you have to do here is make circles. You trace something round if you want more perfect circles, but since this is a casual piece of pizza I'm just free-handing them. Add some half circles in places to make it more realistic.  Step 7 Step 7. Toppings are an individual preference, and you may not like olives. But I do, so I added olives here. Olives are simply circles with smaller circles in the middle. I like mushrooms too, but I didn't to overcrowd this drawing. If you want to draw mushroom slices, they are pretty easy...just a half circle with a stem. 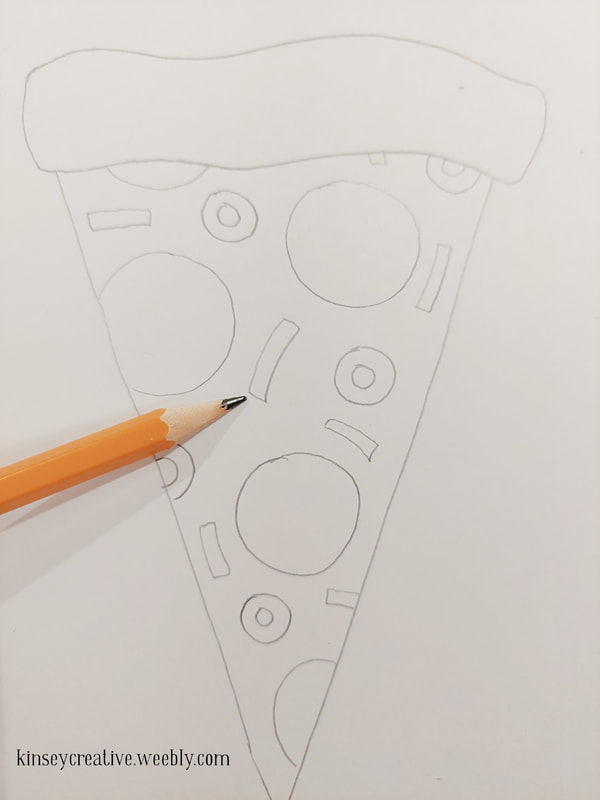 Step 8 Step 8. For visual interest, we can add some pepper slivers. These are just small rectangles that are slightly curved. 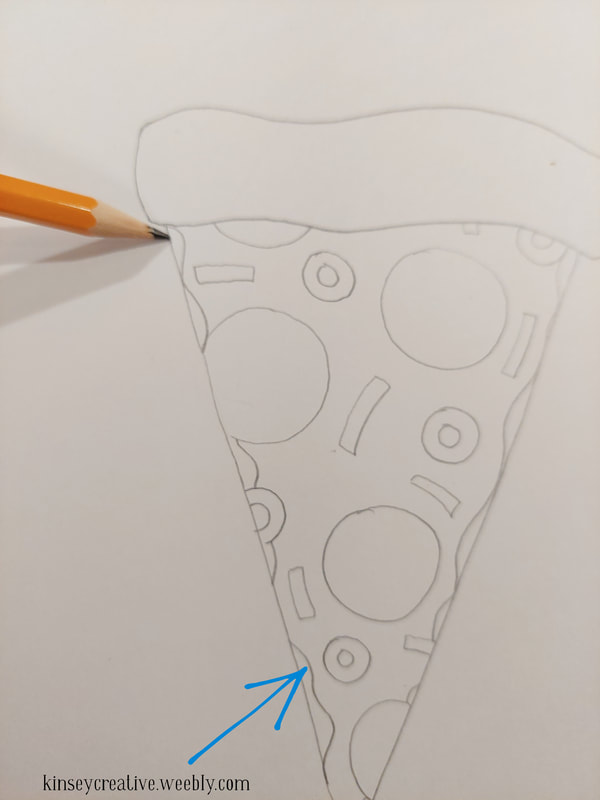 Step 9; The cheese edge Step 9. Now we are going to add what I call "the cheese line". That is that squiggly line along the sides of the pizza. It would be the spot where you can see the sauce under the edge of the cheese. This is optional, of course, but it makes it look a bit more real. 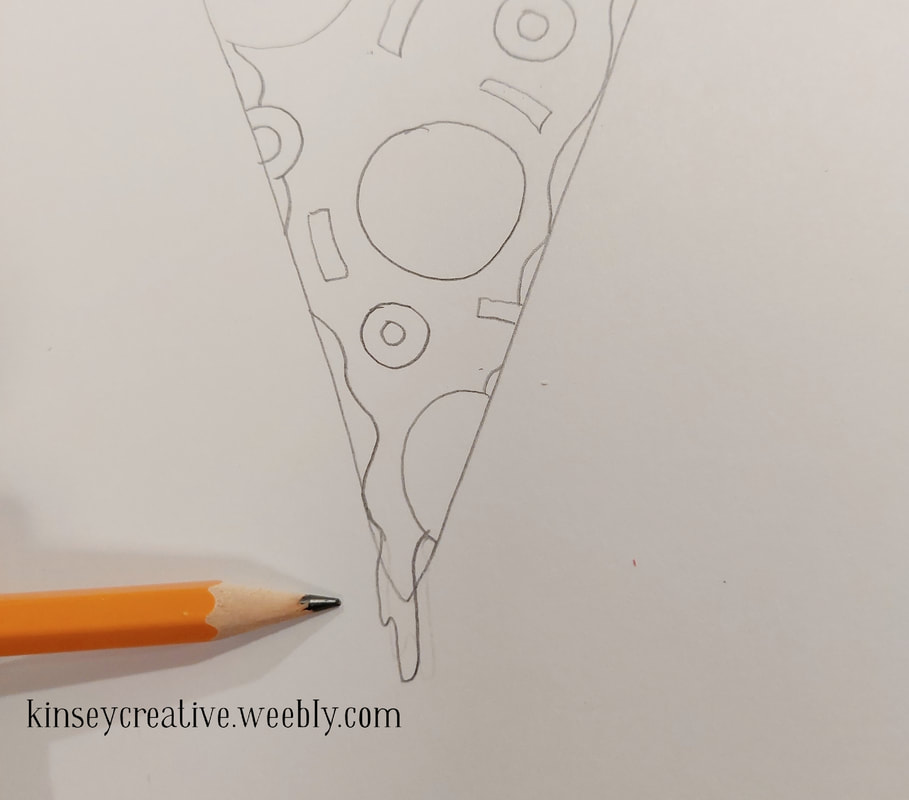 Step 10: The cheese drip Step 10. Add the cheese drip off the end of the pizza point. You can make this a small drip or a really cheesy long drip. 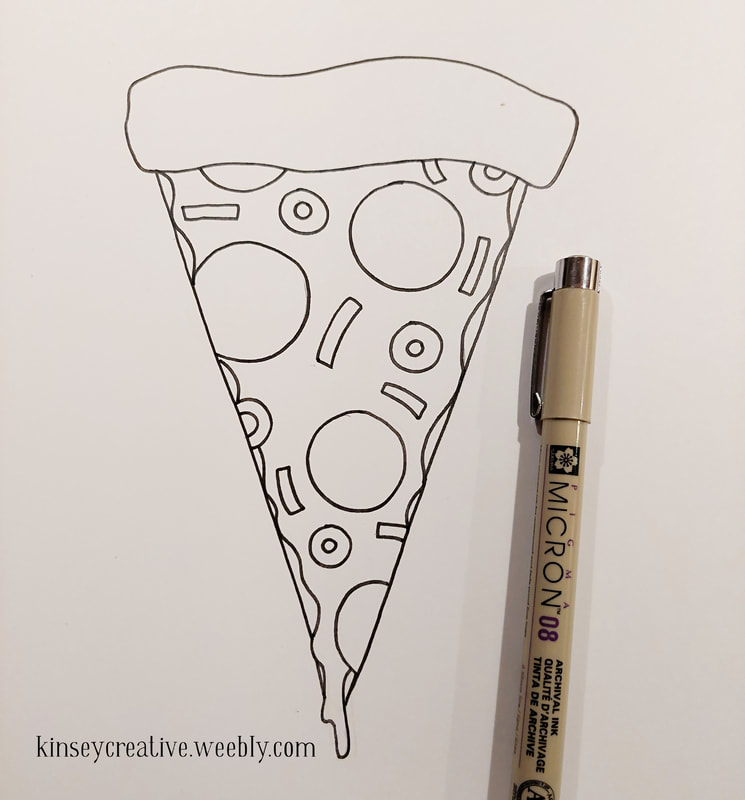 Step 11: Inking Step 11. Once you've drawn all the toppings, it is time to ink it in. I'm using a Micron pen with a fairly large tip for this. A Sharpie or gel pen would work too. Once the ink has dried, carefully erase any leftover pencil lines. 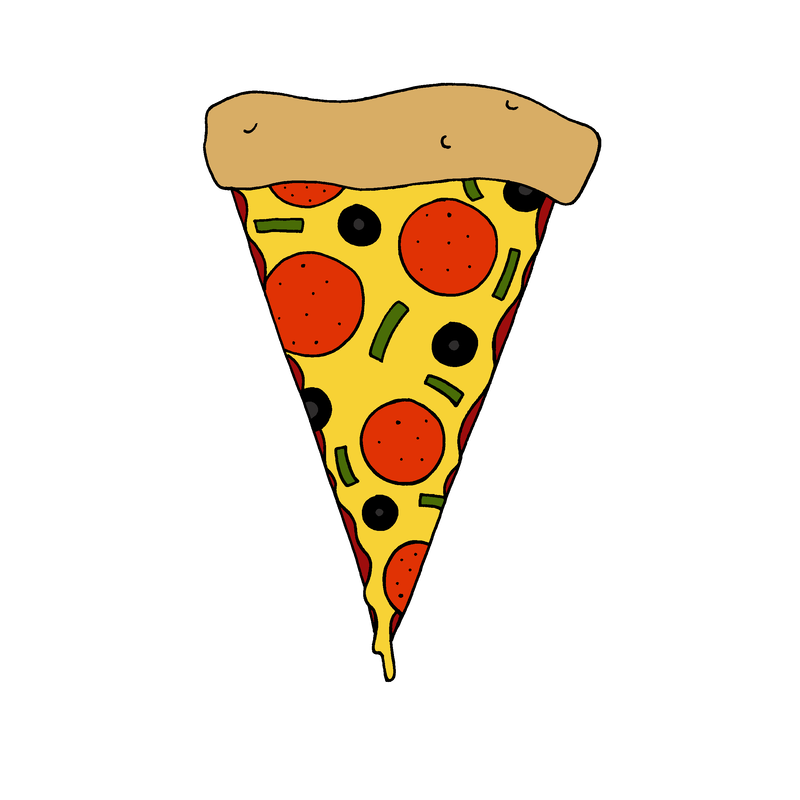 Step 12: Color Your Doodle Drawing Step 12. Now for some color! You can use whatever coloring supplies you prefer (do test that they work well with your paper before you color your doodle though.) I scanned mine in and used a photo editor to color it quickly for the tutorial. Watercolors, markers, or colored pencils would provide more realistic coloring and texture though. Have fun with this part! Finished! And there you have it, a super easy pizza slice doodle. The fun thing about this doodle is you can draw it many times, and make each one unique by changing the colors of the cheese, the arrangement of the pepperoni, or even adding different sorts of toppings. You can even add a face to the crust if you want more of a cartoon pizza slice. I hope you enjoyed the tutorial! If you are looking for more things to draw, you might want to check out these doodle tutorials as well: Get It On a Sticker!
0 Comments
Leave a Reply. |
Archives
March 2024
|
 RSS Feed
