 *This post contains affiliate links. I may earn a small commission if you purchase through these links. As an Amazon Associate, I earn from qualifying purchases, at no extra cost to you. * In today's tutorial, I'm going to show you how to draw a St. Patrick's day doodle of that ever popular pot-of-gold-at-the-end-of-the-rainbow. It's a little more complex than some of doodle tutorials on here, but I promise it is still easy! There are step-by-step photos, and doesn't require fancy or expensive art supplies. Drawing Supplies You Will Need:
Note: I use one of these white acrylic pens to highlight over marker in my drawing. I also use it to line the handle. If you don't have one on hand, that's okay! You could also use a white gel pen, colored pencil, white charcoal, chalk, or white paint and a fine tipped brush. Or just lightly mark off which areas you want to remain white and color around them carefully. Got everything you need? Great! Let's draw! 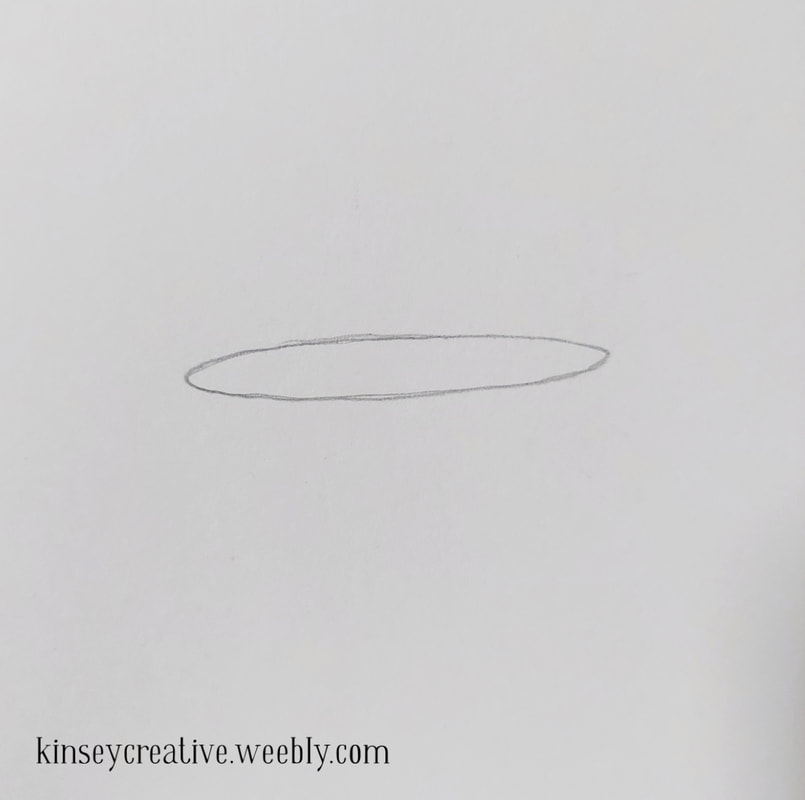 Step 1 Step 1. Like so many of my tutorials, this starts with "draw a smushed oval". Until I started writing these, I never realized just how often I draw a smushed oval. And here we are again, smushing one like crazy. This is the opening to the cauldron, so how big you make your oval is going to determine how large your whole drawing becomes. You want it large enough that you have room to draw the coins inside later, but small enough that you have room on your paper for the rest of the details. 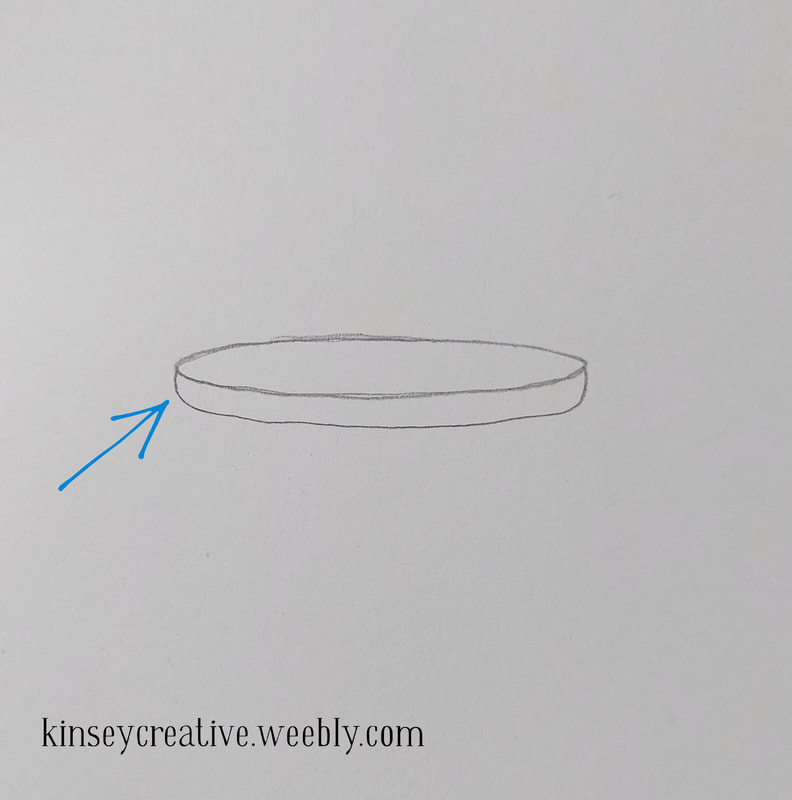 Step 2 Step 2 Connect to either end of the oval, come down just a bit, and make a second line that follows the curve. That's the rim of the pot, but it really wont show up later. Its just a place holder for now, so don't worry about it being to straight or even. 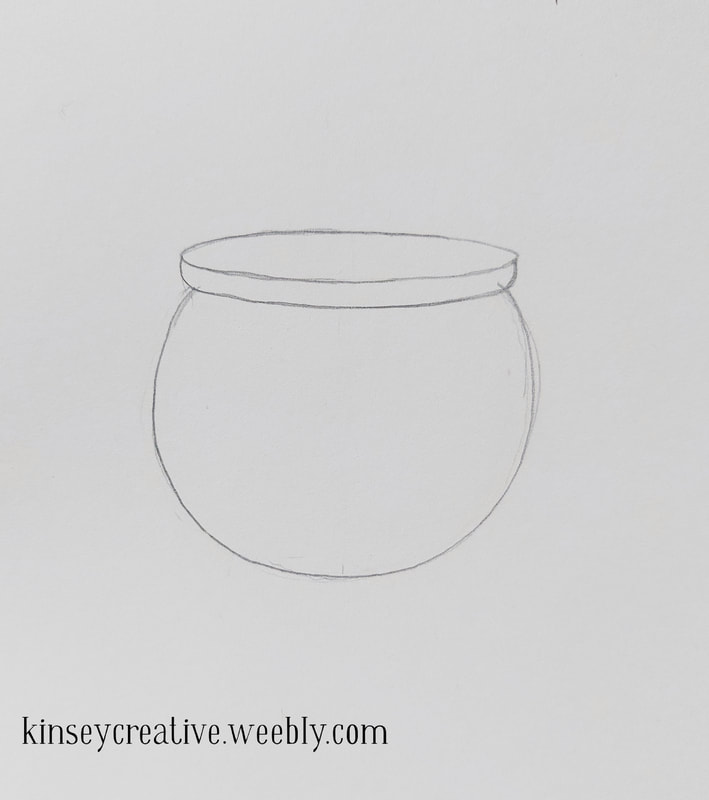 Step 3 Step 3. Now for the "belly" of the cauldron. This is just a big round bottom. Its not quite a whole circle, but its more than a half circle. If you want, you can use a round shaped object to trace around. Or just freehand it like I did here, for a slightly wonky pot. 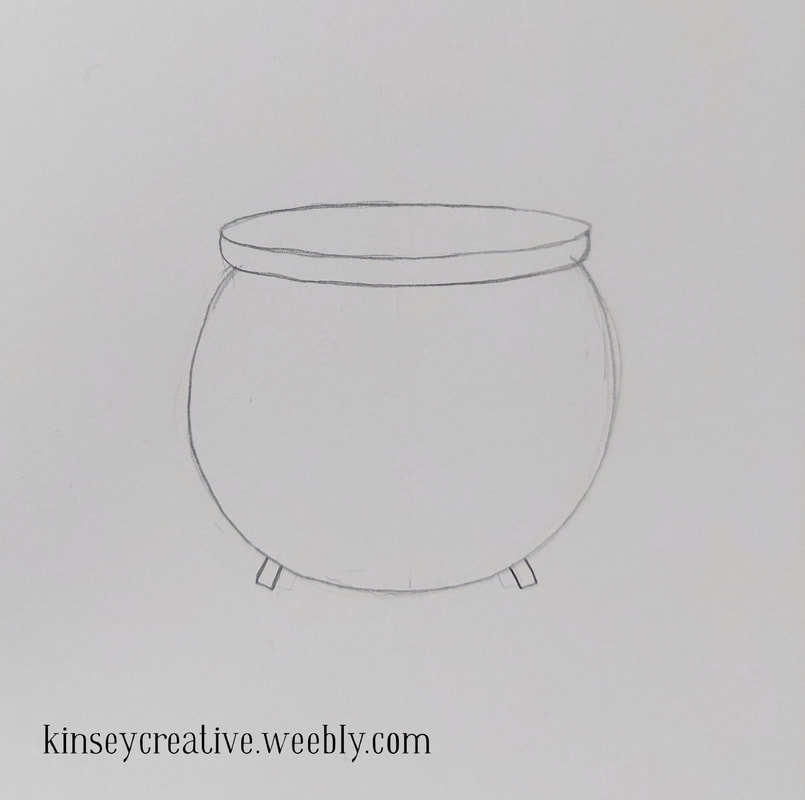 Step 4 Step 4. I'm not sure if these magic pots of gold should have legs or not. I've seen it done both ways. I'm putting legs on this one. You can, of course, leave the legs off entirely. Or go completely crazy and draw some sort of elaborately carved claw feet on it. The rest of the tutorial will wait til you are done. 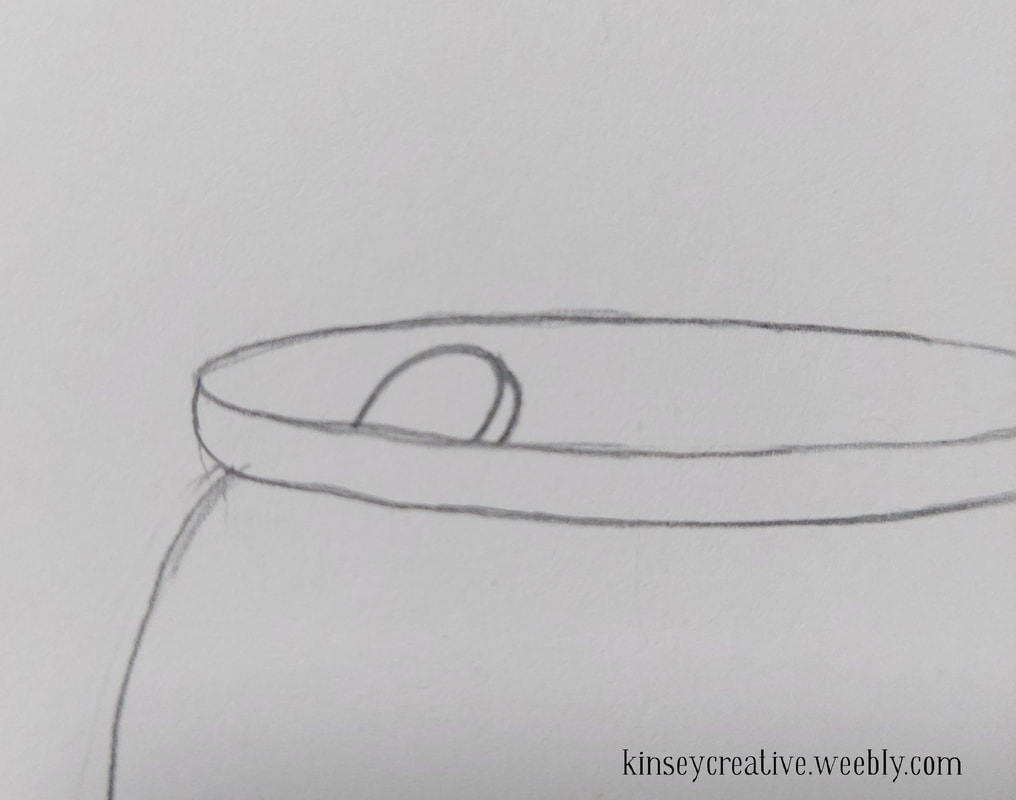 Step 5 Step 5. Now let's fill up the pot with the actual gold coins. This might be a bit tricky, because you have to layer in circles. It is okay if they aren't perfect. Give some of them a bit of an edge so it looks they are turned sideways. I made mine kind of thick and chunky because I'm hoping mine are chocolate coins. 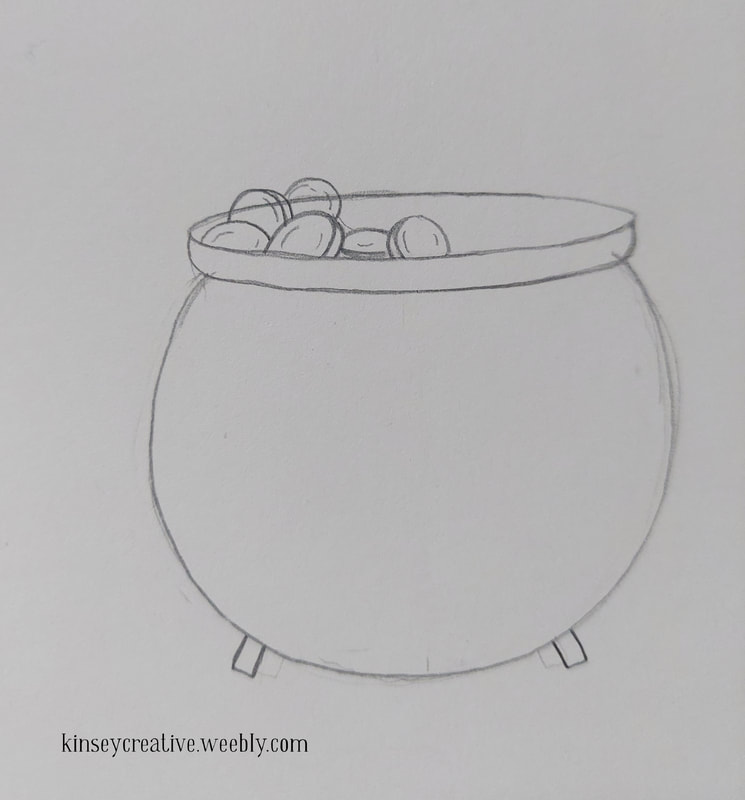 Step 6 Step 6. Keep going... Just a few more coins. 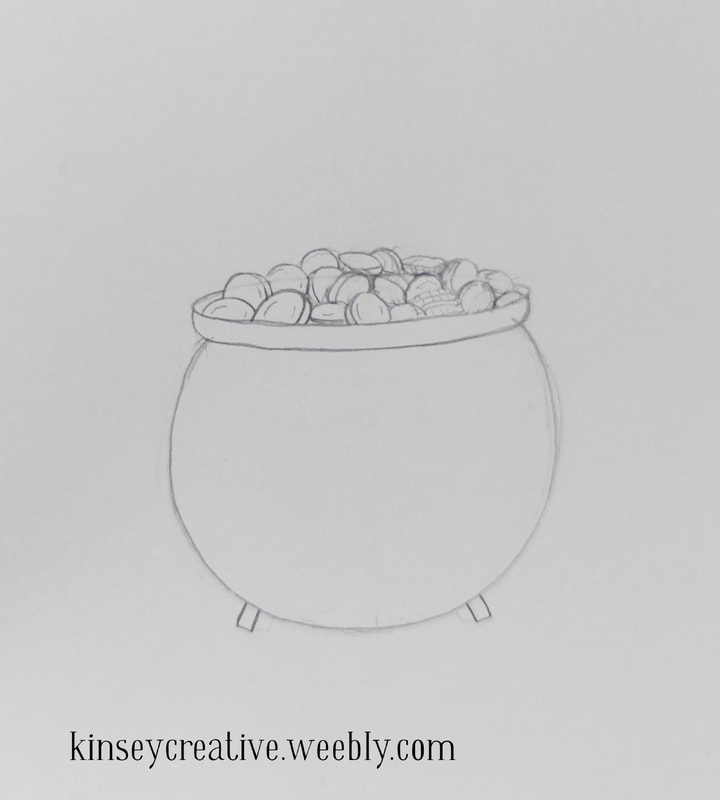 Step 7 Step 7. Keep layering them in until you get to the other edge. You can erase all the overlapping lines now if you want, and add some details like ridged edges. 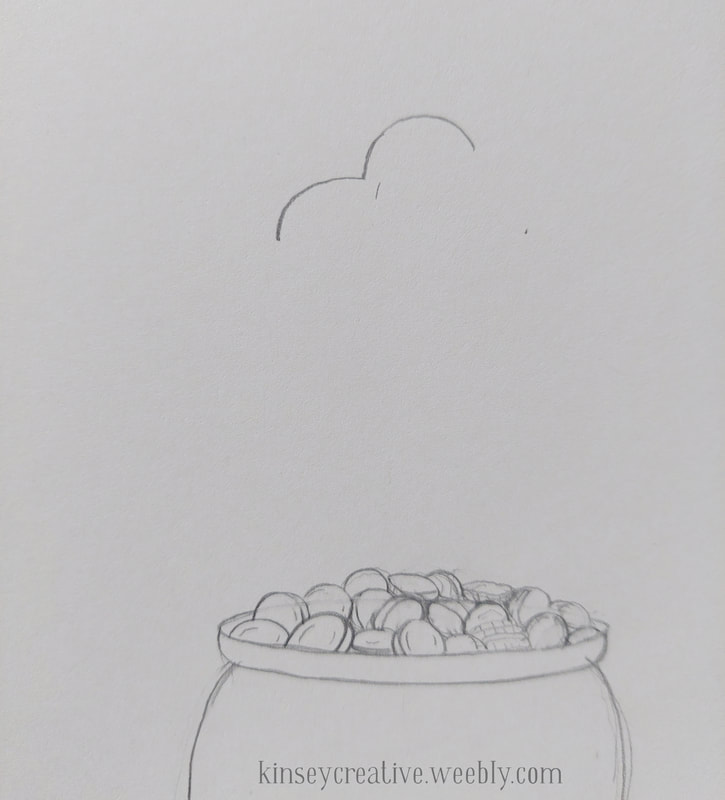 Step 8 Step 8. Starting the cloud. Find a place that is sort of centered over the pot of cold, and start your cloud. 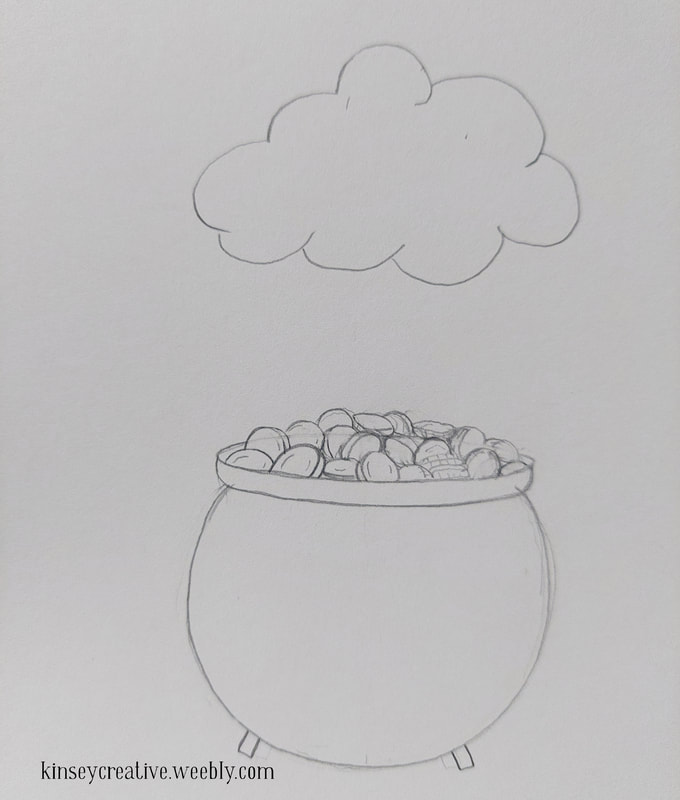 Step 9 Step 9. Finish your cloud out. Remember the rainbow stripes come down straight from the cloud. You don't want it much wider than the cauldron. 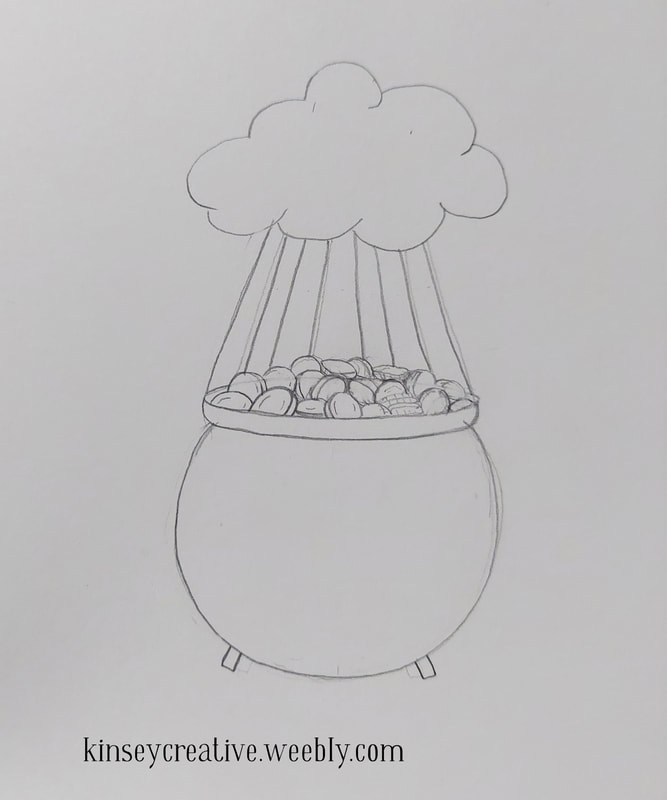 Step 10 Step 10. Draw your rainbow stripes. Here is another place where you can go your own creative way if you like. Rainbow doodles can be drawn in several ways. I used the full seven colors here, but you can use fewer. You can use pastel shades rather than bold colors, etc. You can even exchange indigo for pink. Because this is art! Have fun with it. 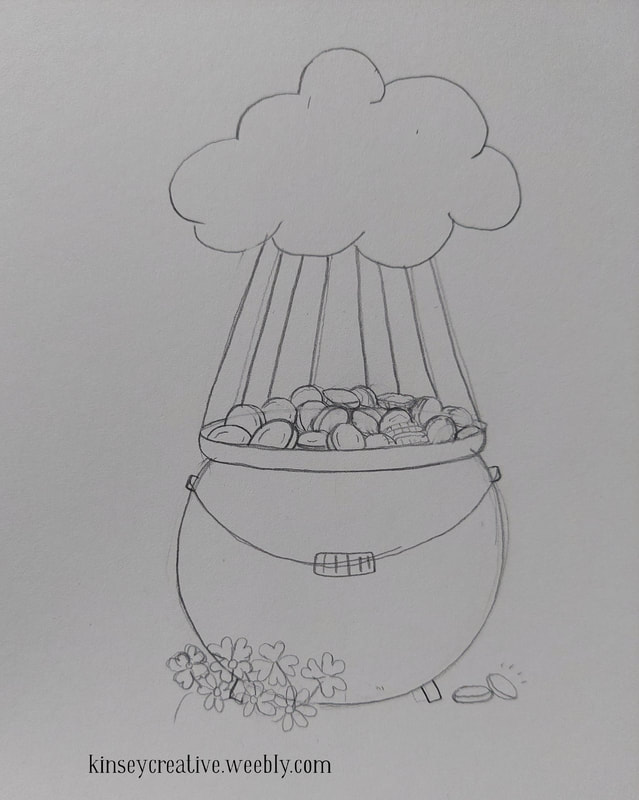 Step 11 Step 11. Here, I added my handle, or bail, to the cauldron. I don't know if leprechauns need these, but I know that if I ever find a pot of gold, I want a way to carry it easily. So my pot has a handle. After that, you can add some details, like shamrocks/four leaf clover around the base. If you do want to add them, please check out this tutorial for how to draw different shamrock designs. Since I already have that tutorial, I won't add the extra steps to this page. You could also use other flowers, or grass, or leaves, or more coins in a pile, around the base. 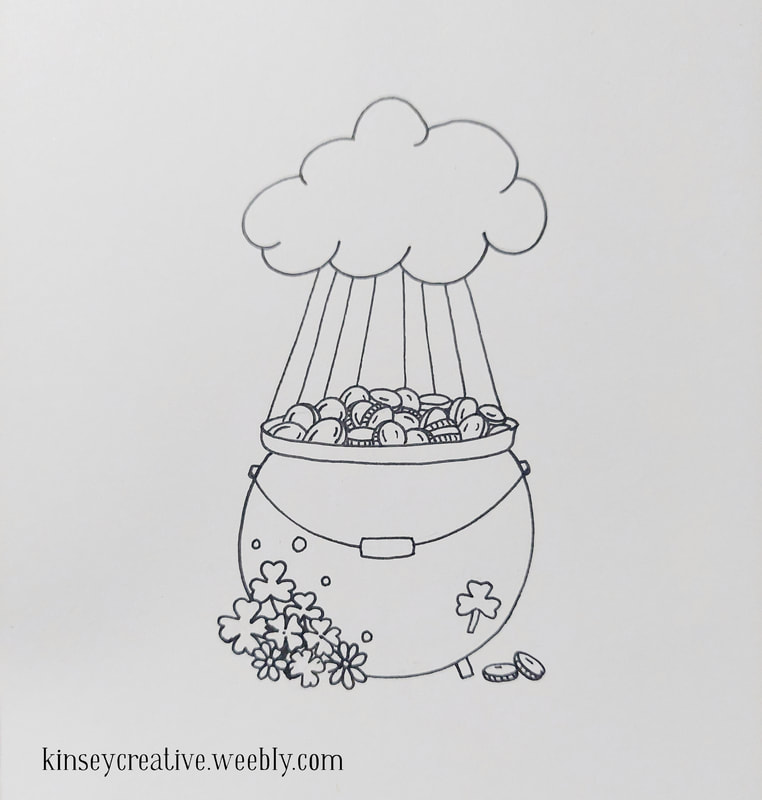 Step 12 Step 12. Inking Your Drawing Once you have all the details and are satisfied with your doodle, it is time to ink the outline. I used a Micron pen for this, but an ultra fine Sharpie or other black pen would work too. Carefully ink over only the lines you want to keep. When the ink is dry, gently erase the pencil lines. Now your art is ready to color in! 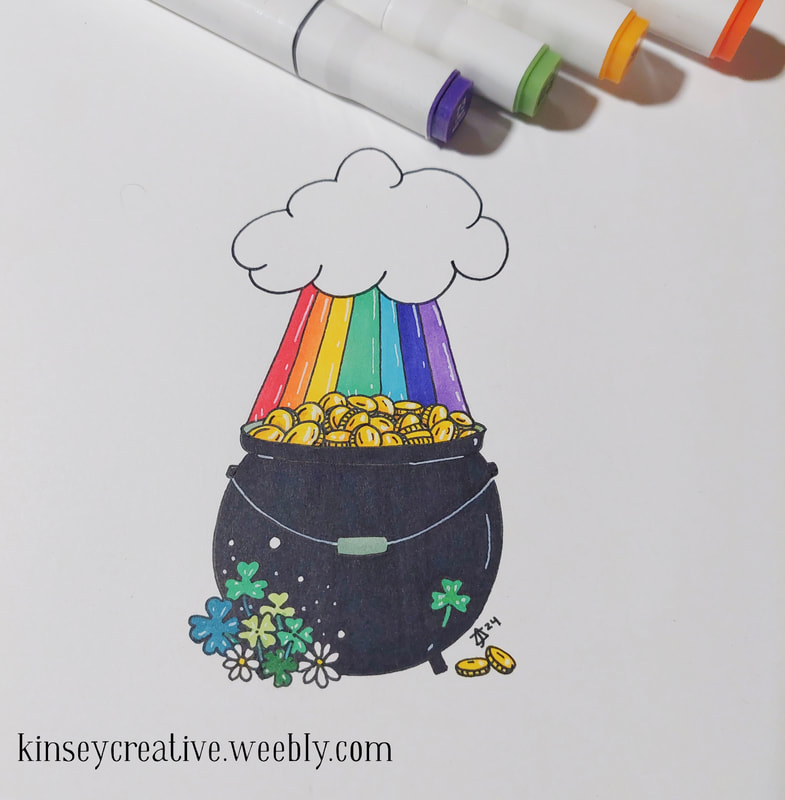 Coloring it all in! Step 13. Have fun coloring your doodle! You can use whatever medium you prefer, including colored pencil, watercolor paints or markers. I used a black Sharpie to color the cauldron, and alcohol markers for the rest. Then I added the handle, highlights and shine with the white paint marker mentioned at the top of this post. 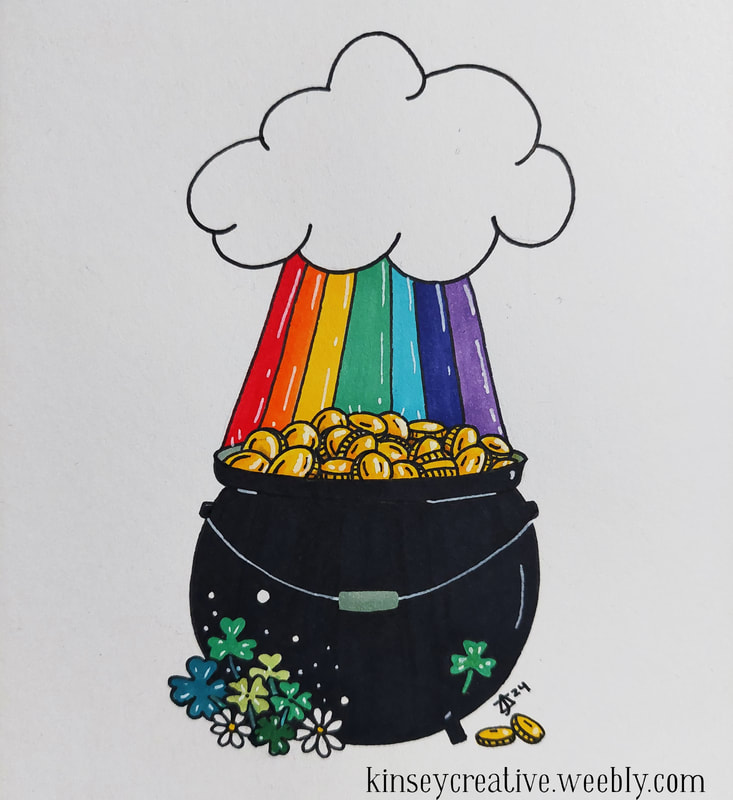 Thanks for reading! If you enjoyed drawing this, you may also like these other art tutorials:
How to Draw Lucky Shamrocks How to Draw a UFO How to Draw a Pizza Slice Doodle How to Draw a Whale
0 Comments
Leave a Reply. |
Archives
March 2024
|
 RSS Feed
