 Do you struggle to keep a real succulent alive? How about creating a cactus doodle that can never die? In today's tutorial, I'm going to show you how to draw a neat little cactus doodle. There are step-by-step photos and instructions to help. This is a very easy drawing to make, even if it looks complicated. Just a few basic shapes that anyone can make, such as straight lines and half circles. You won't need any specialty art supplies for this tutorial either. It can be done with a piece of copier paper, a standard yellow pencil and an ink pen. I do recommend cardstock though, simply because it holds up well if you wish to color your drawing in with markers or colored pencils. You can use any variety of supplies you have on hand though. Here is what you need:
Got it all? Okay, let's draw! 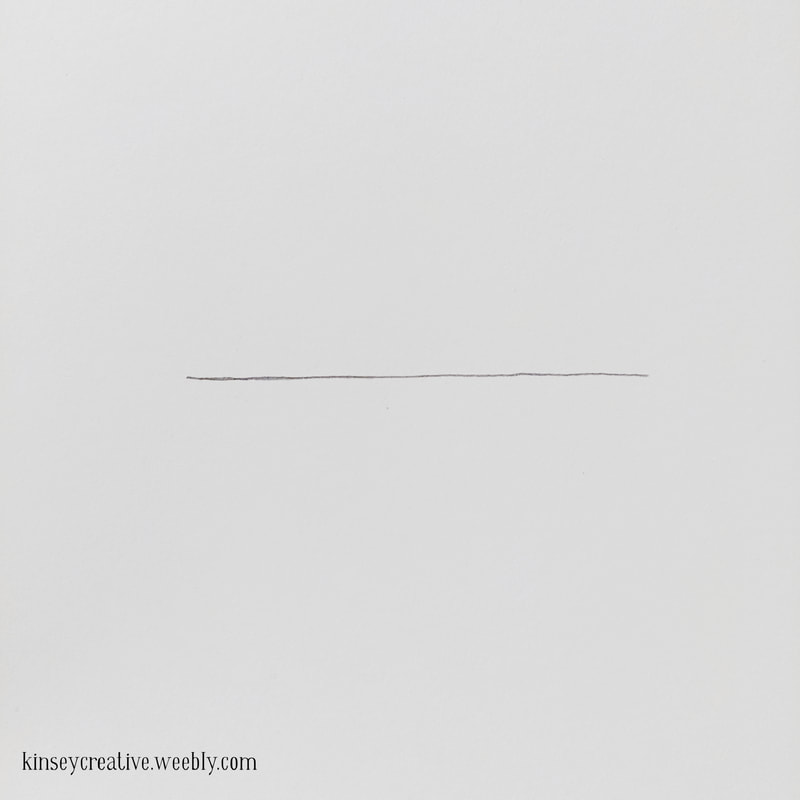 Step One Step 1. Start with a straight line. That will be the top of your flower pot. How long you make this line determines the finished size of your doodle. 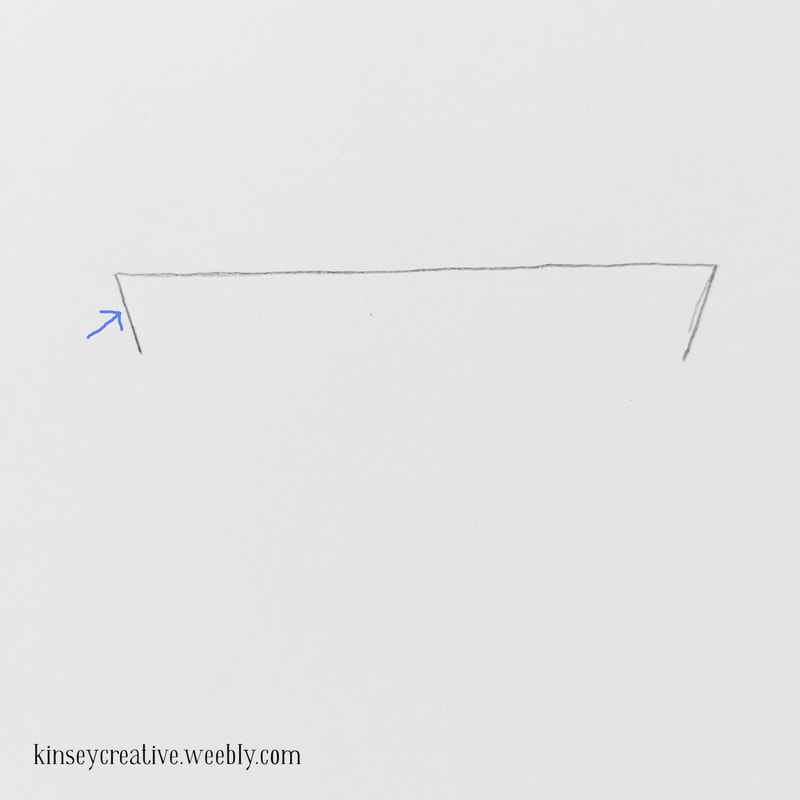 Step Two Step 2. Make a short line down from both ends of your straight line. Slant it slightly inwards to make the pot rim. 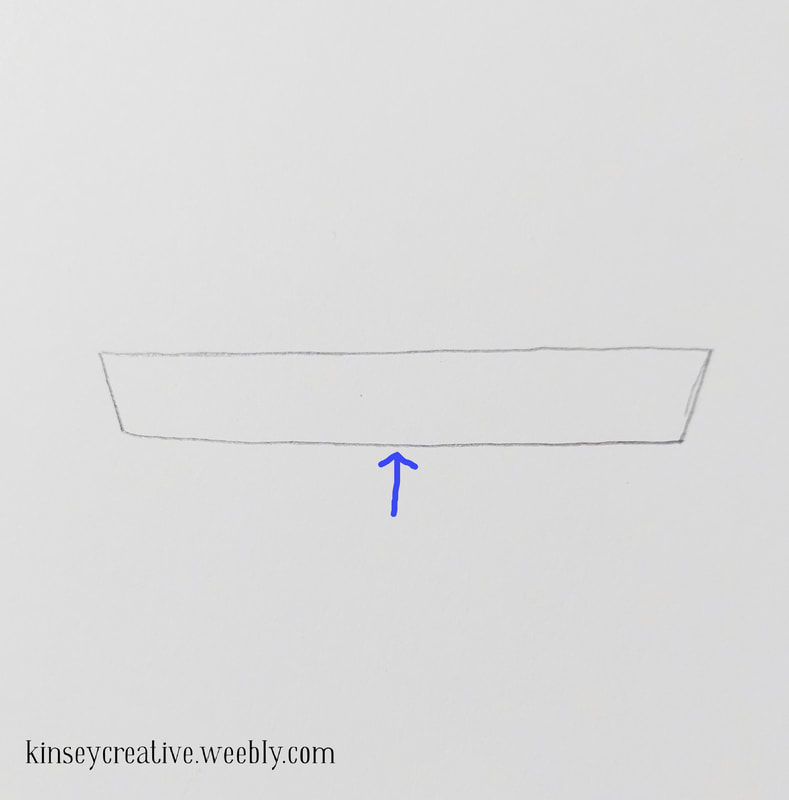 Step Three Step 3. Connect the two shorter lines with another long line. Remember, this is a doodle, so your lines do not have to be perfectly spaced or even. Just have fun. 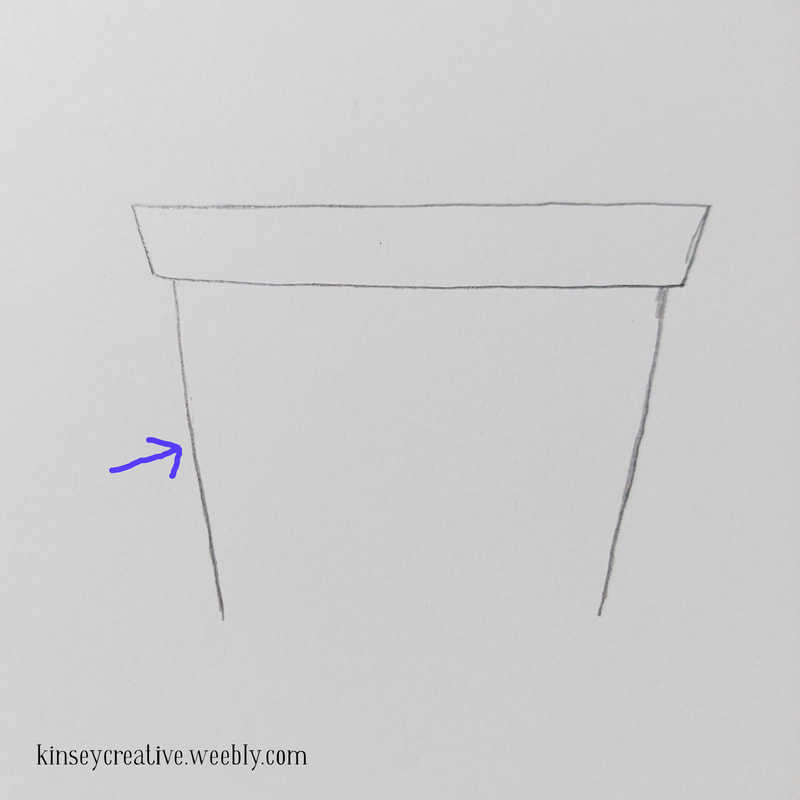 Step Four Step 4. Make two long lines downwards, (see arrow above). Slant them slightly inwards. These represent the sides of the pot. However long these lines are, will be how tall your flower pot is. 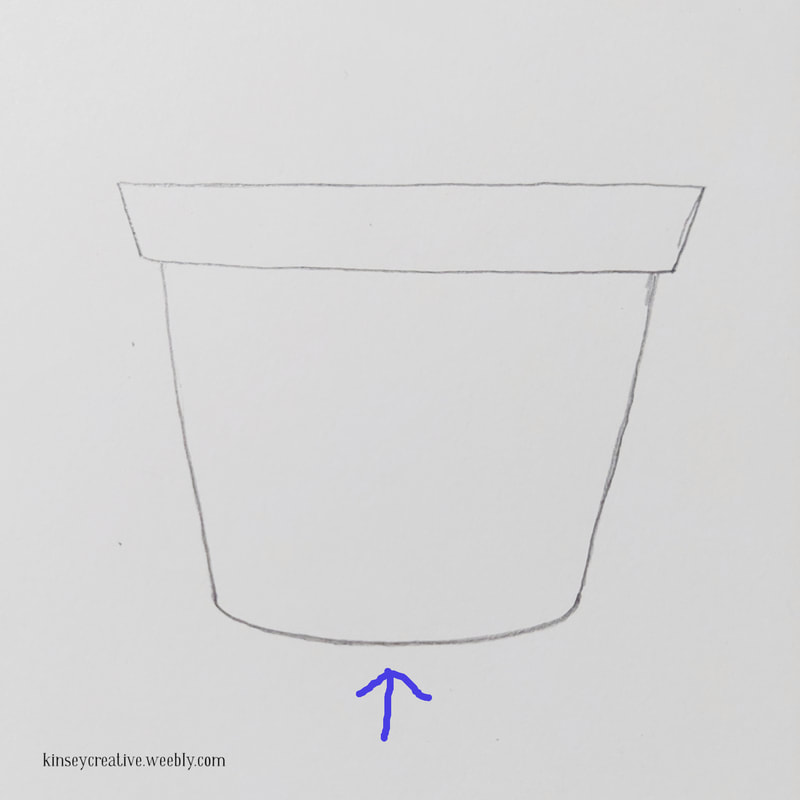 Step Five Step 5. Create a bottom by make a slightly curved line, and connecting it to either side. 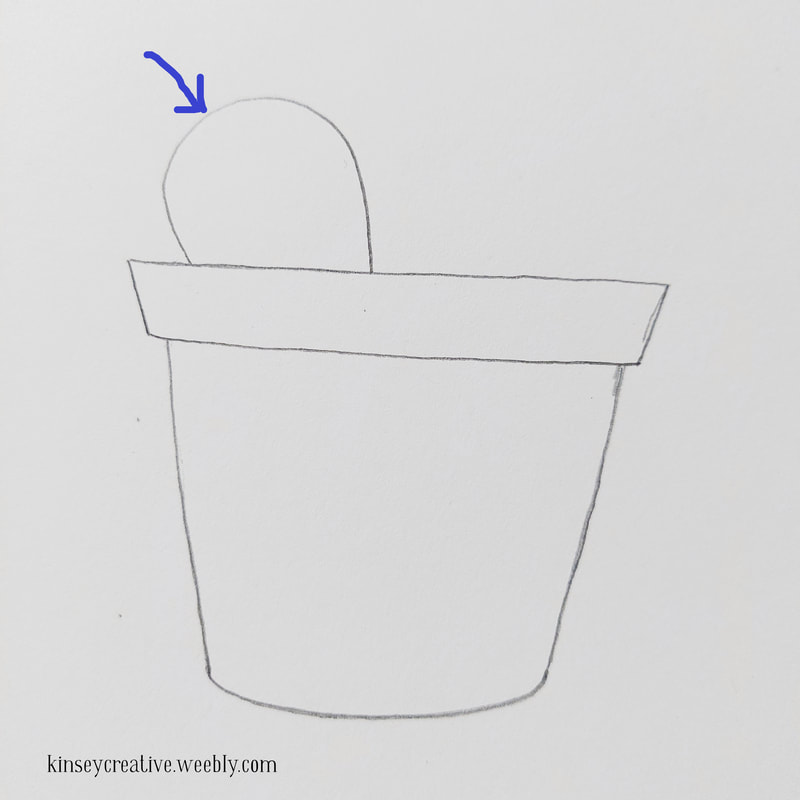 Step Six: Starting the Cactus Step 6. Now it is time to make the cactus. The shape is somewhere between a half circle and a half oval. Think of it as a lightbulb or flower petal shape. 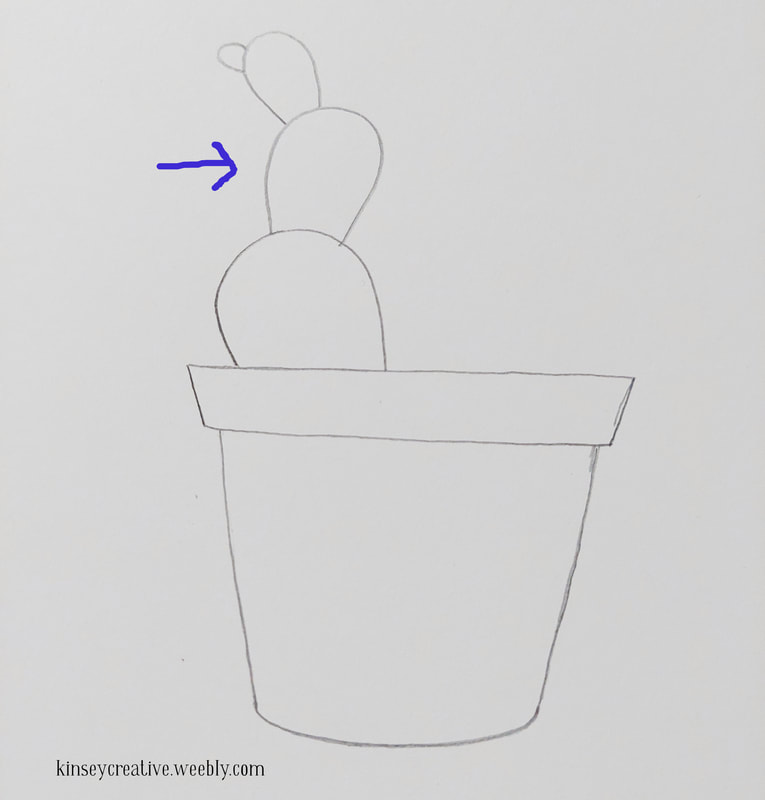 Step Seven Step 7. Stack some more cactus paddles on top. They get smaller as they go up, since those are the youngest. 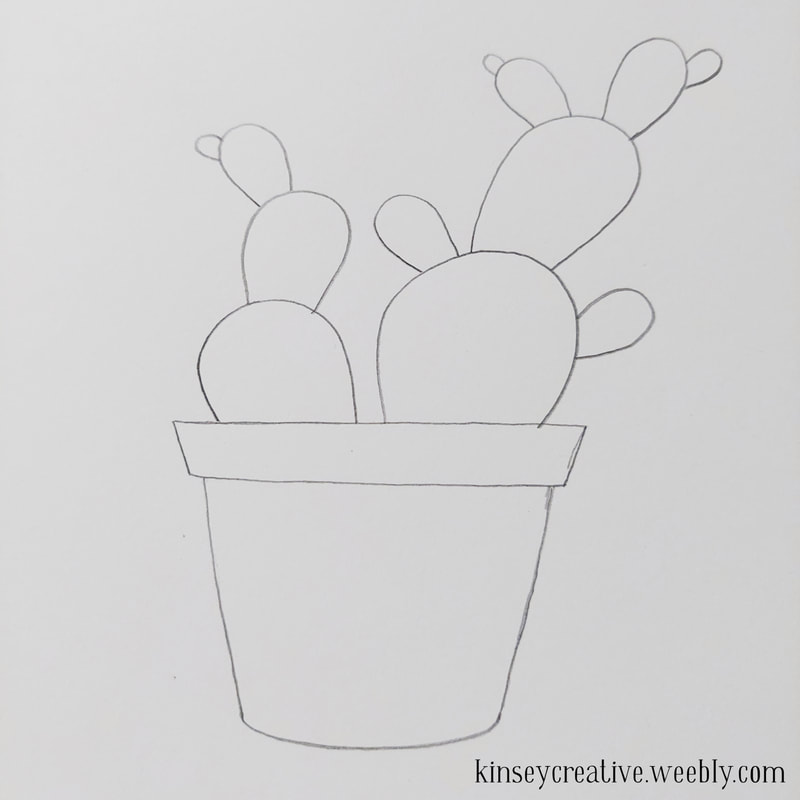 Step Eight Step 8. Finish out the cactus on the other side of the pot. 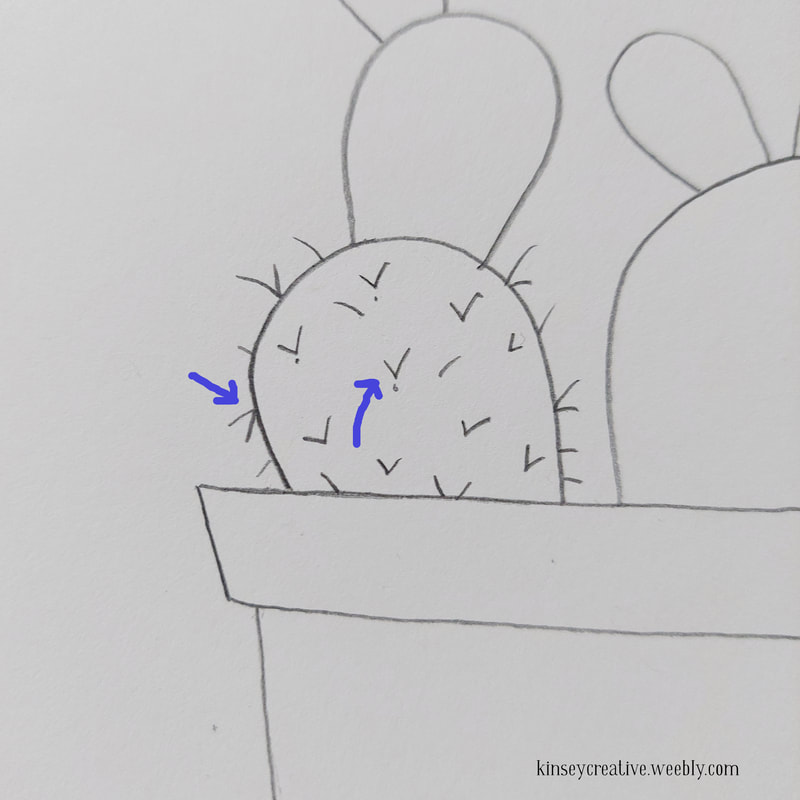 Step Nine Step 9. Stickers! To make a prickly cactus, start making "v" shapes on the leaves. Add some along the edges too! 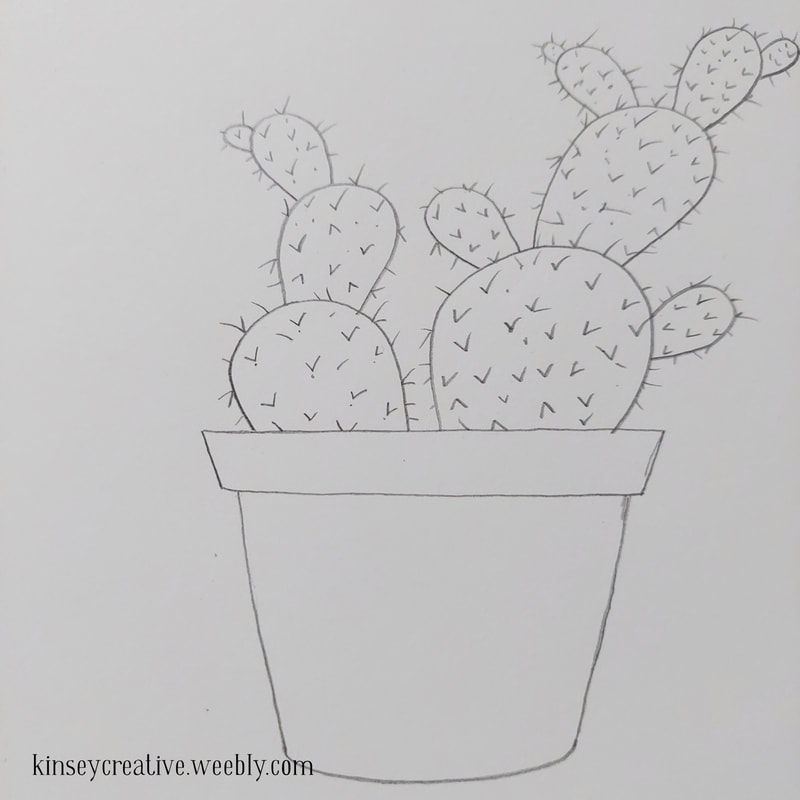 Step 10. Keep going until the cactus is good and stickery. Add some little dots in there too for texture. 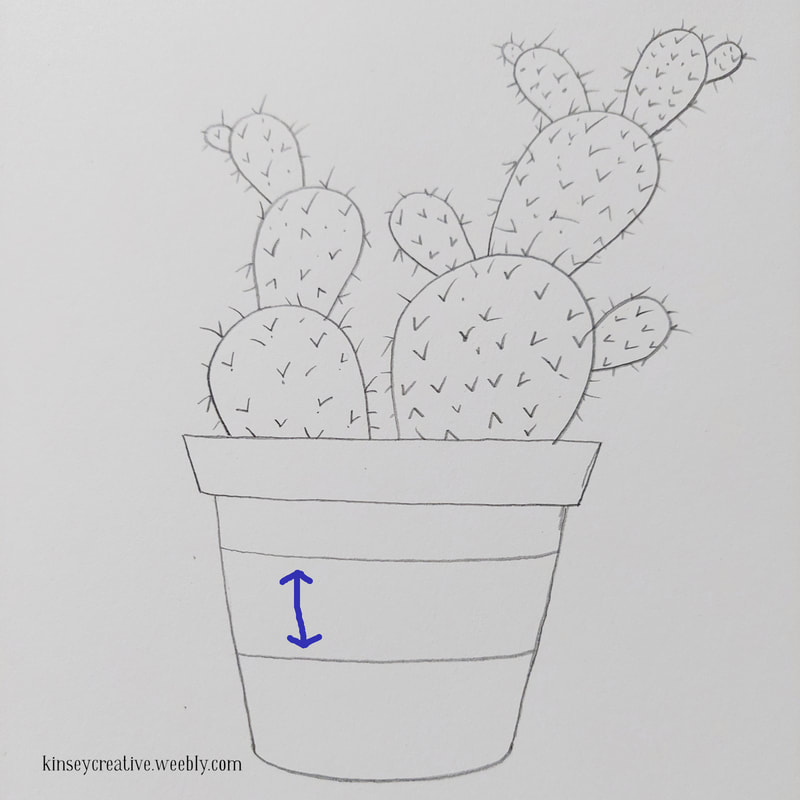 Step Eleven Step 11. Now is the time to decorate the flower pot. You can leave it plain if you prefer, or use a different pattern. For this one, I'm going with a simple geometric pattern. Start with two curved lines somewhere around the middle of the flower pot. 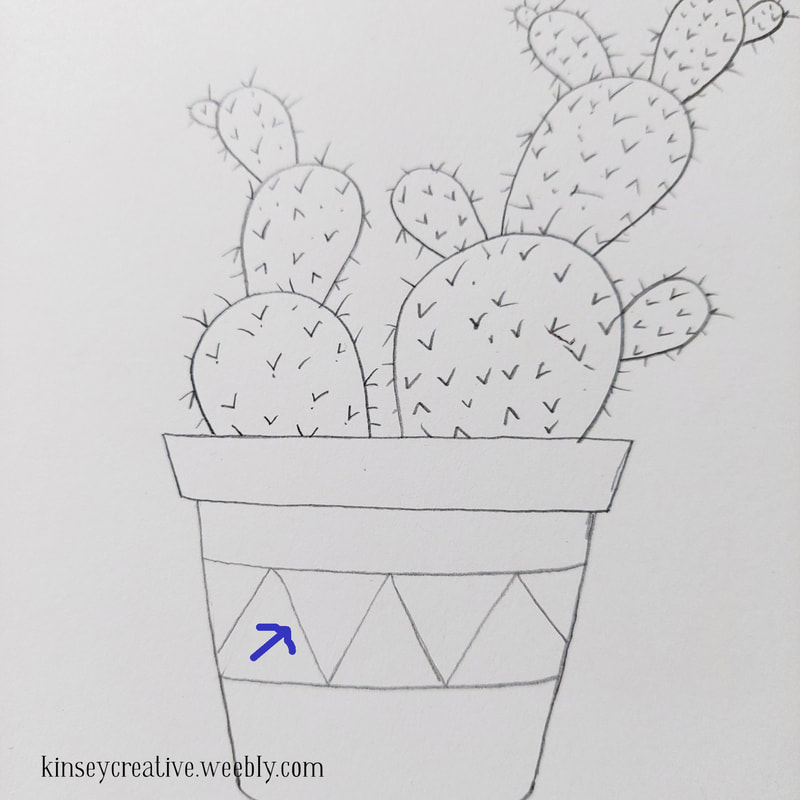 Step Twelve Step 12. Add some tall triangles between the lines. 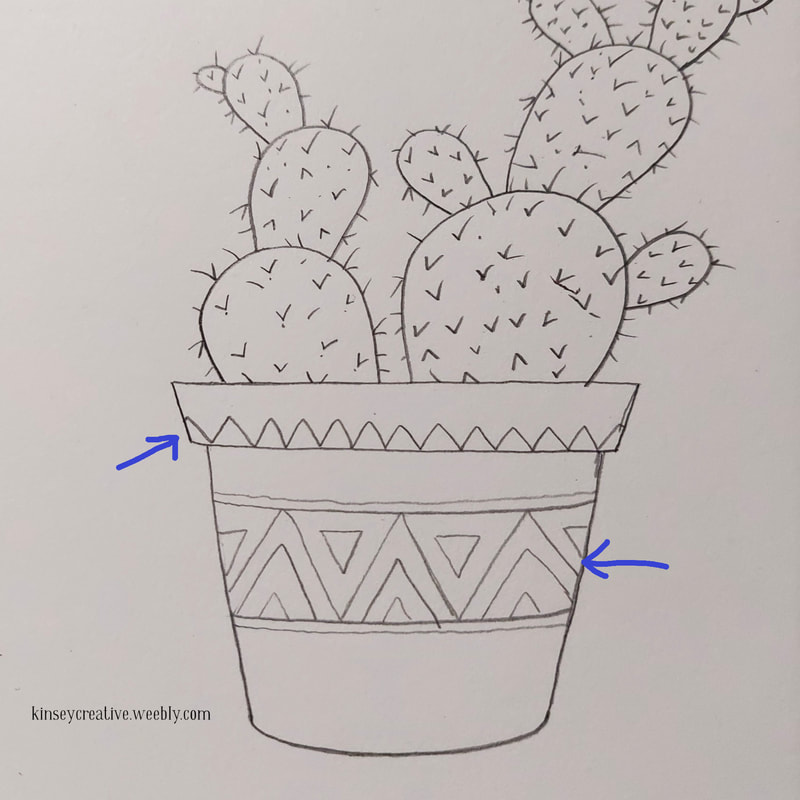 Step 13. Add more triangles inside of the first ones you drew. I also doubled the top and bottom lines to make it a thicker border. Then I added a smaller line of triangles near the top. Once you are happy with your design, it is time to ink! 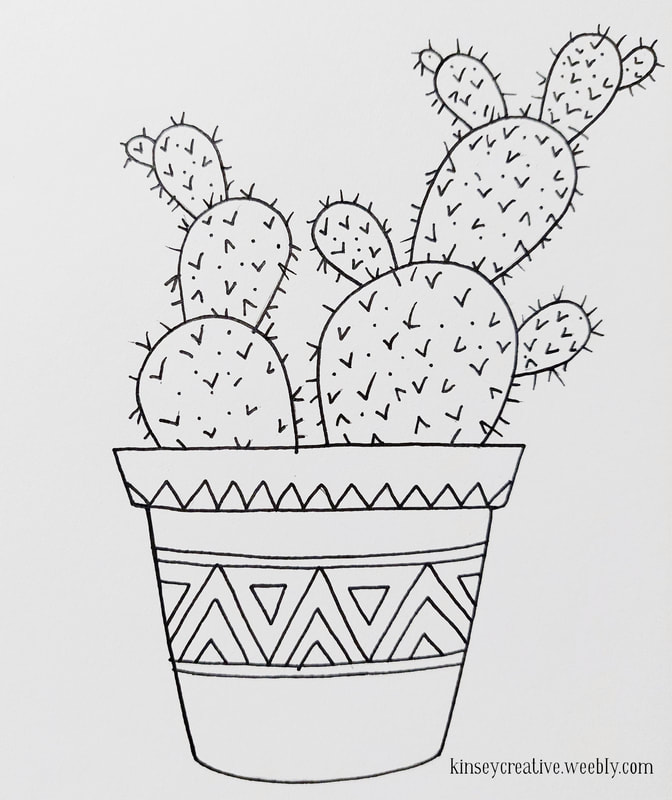 Step Fourteen Step 14. Carefully ink over all the lines you want to keep. When the ink is dry enough not to smudge, gently erase the remaining pencil lines so that you have nice, clean line art. The cactus is already looking pretty happy. But it might look better with color. 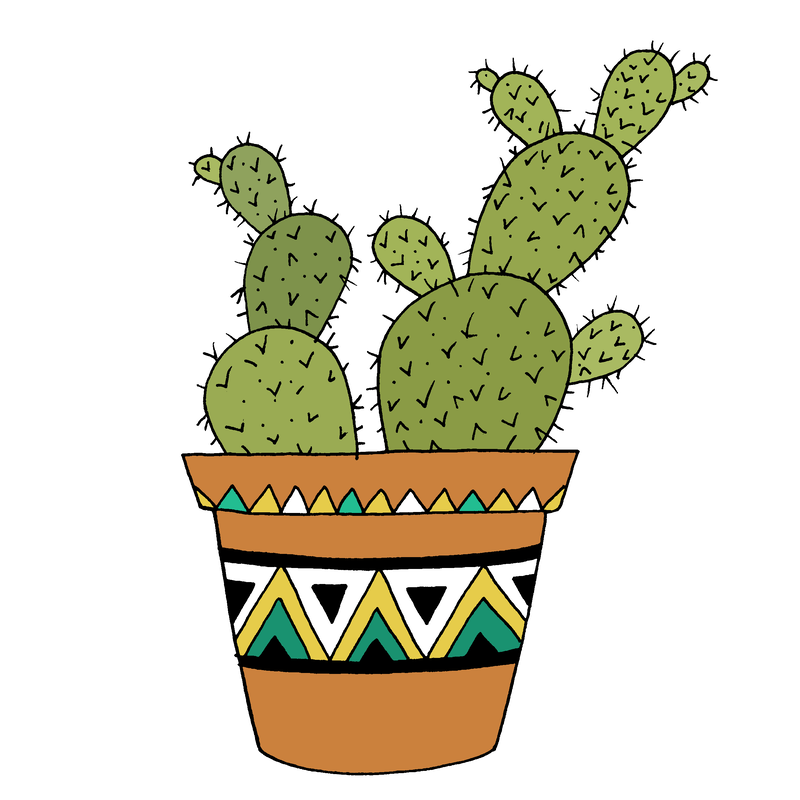 Step Fifteen Step 15. Color your cactus doodle in. I went with digital fill here to make it fast, but colored pencils, markers or watercolors would all work great. Now you have a permanent cactus doodle. This cheerful succulent will never droop or die. Doodle it in a journal, on a gift tag, or just for your wall. Thank you for reading this tutorial. If you want to make more art, you might like these other drawing tutorials that are just as easy (or easier!);
0 Comments
Leave a Reply. |
Archives
March 2024
|
 RSS Feed
