 In today's tutorial, I will show you how to draw a cute nail polish doodle. This is an easy and fast drawing that anyone can do. But what would you need them for? Well, you can just draw them for the enjoyment or practice. But I think they would also be cute in a journal, perhaps as little trackers. You know, color one in for goals met or something interesting like that. Are you ready to try? What you will need:
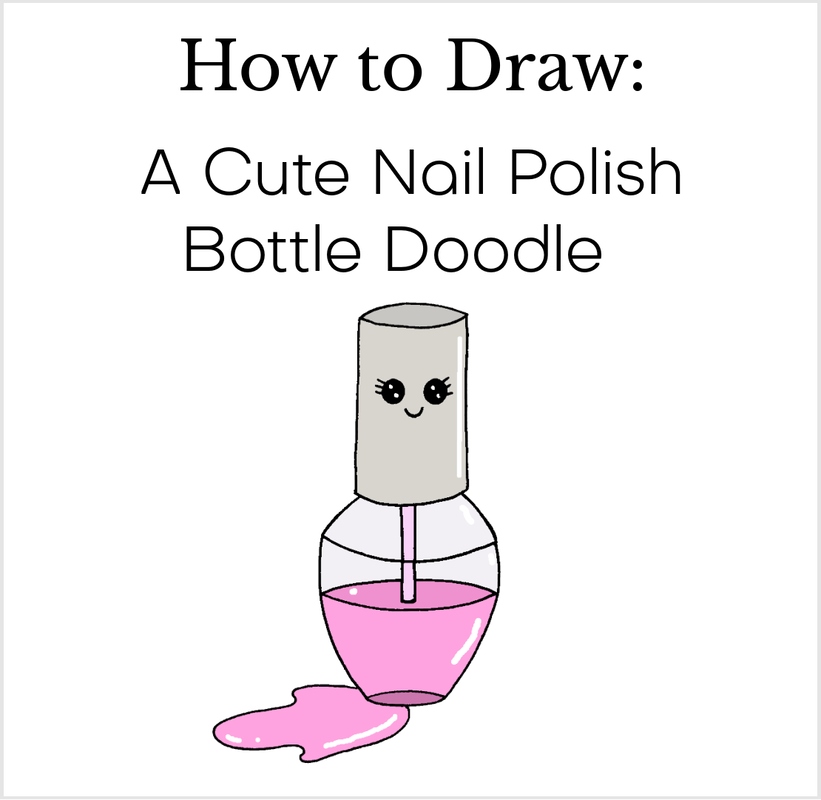
Got it all? Okay, let's draw! 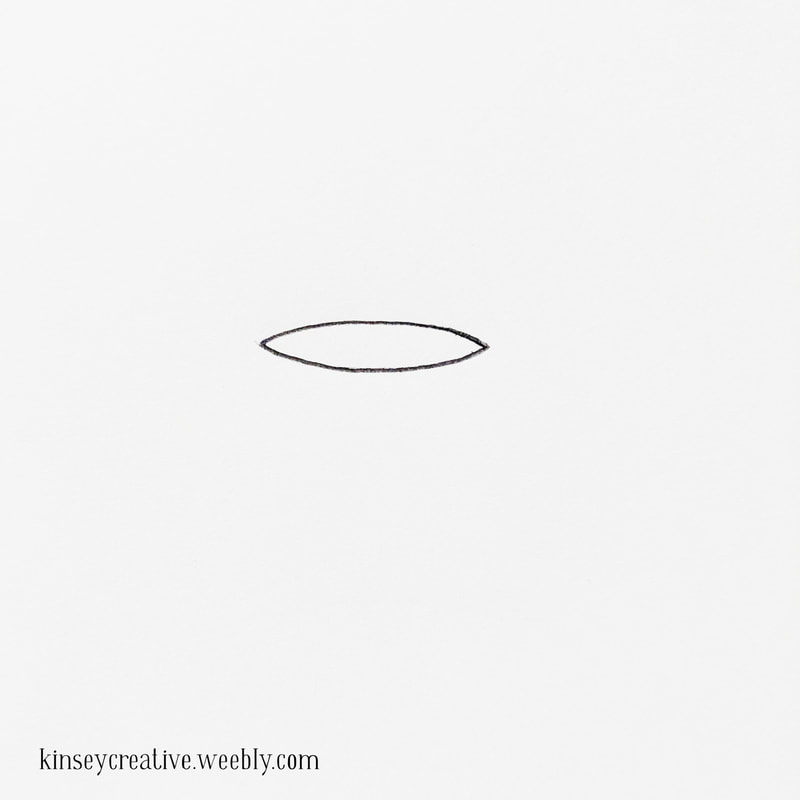 Step One Step 1. Start with "smushed oval shape, (or you could call it a leaf shape). This is the top of the polish bottle. You don't want to make this too big, since it will sort of determine the size of the rest of the drawing. 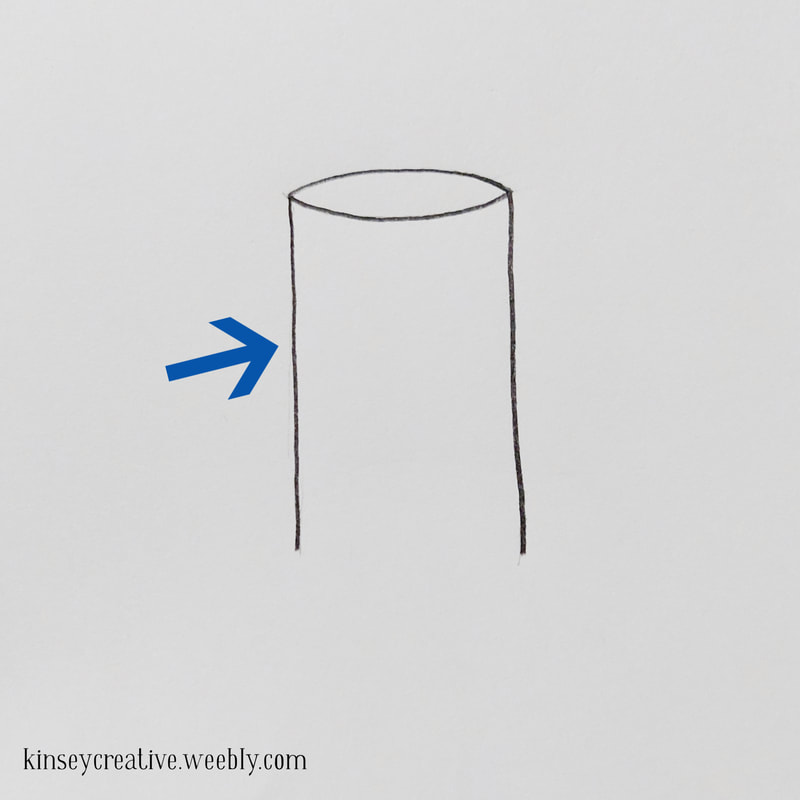 Step Two Step 2. At either end of the oval, come down and make two straight lines to make the sides of the bottle lid. 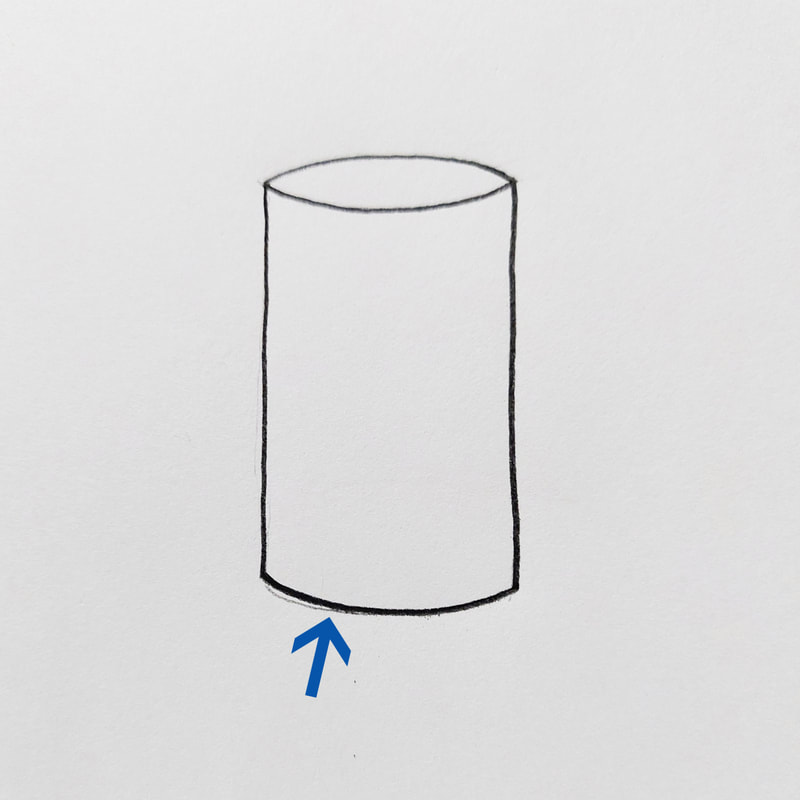 Step Three Step 3. Connect those two lines with a curved line. 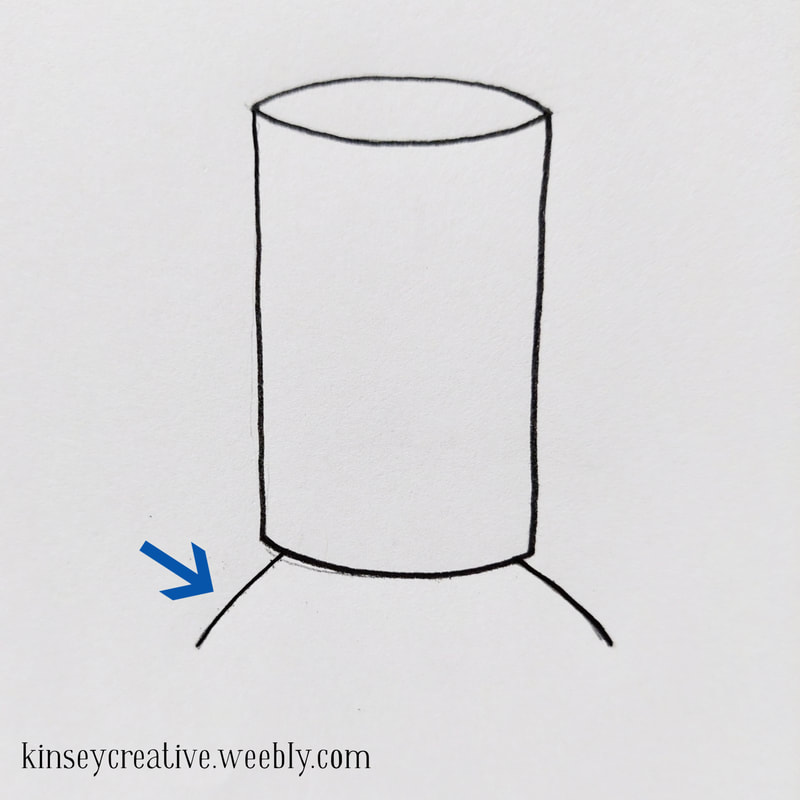 Step Four Step 4. Come down under the lid and make two "shoulders" to begin the bottle itself. 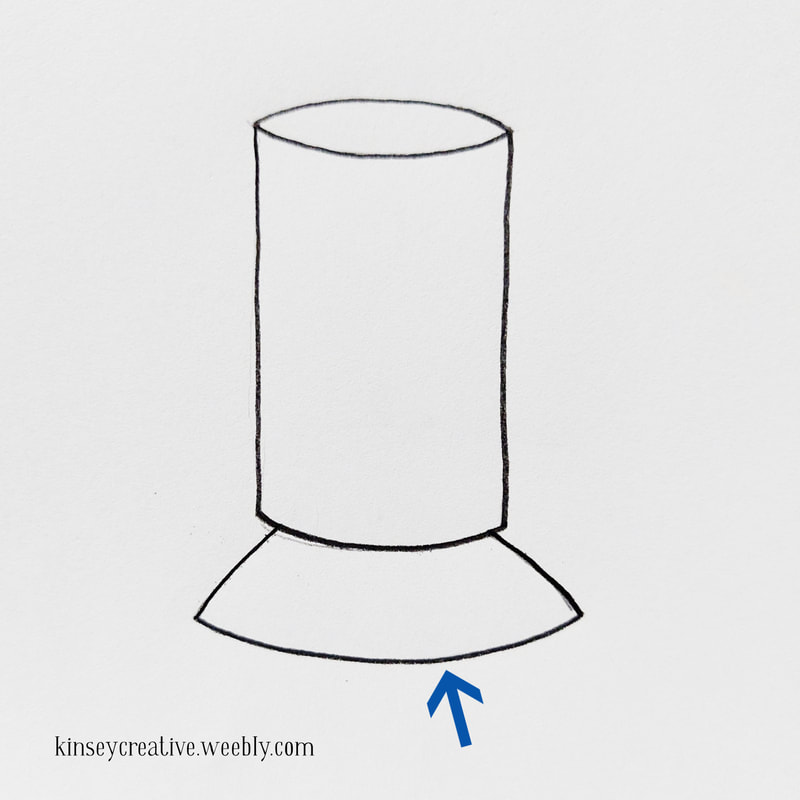 Step Five Step 5. Connect those two "shoulder lines" with a curved line. 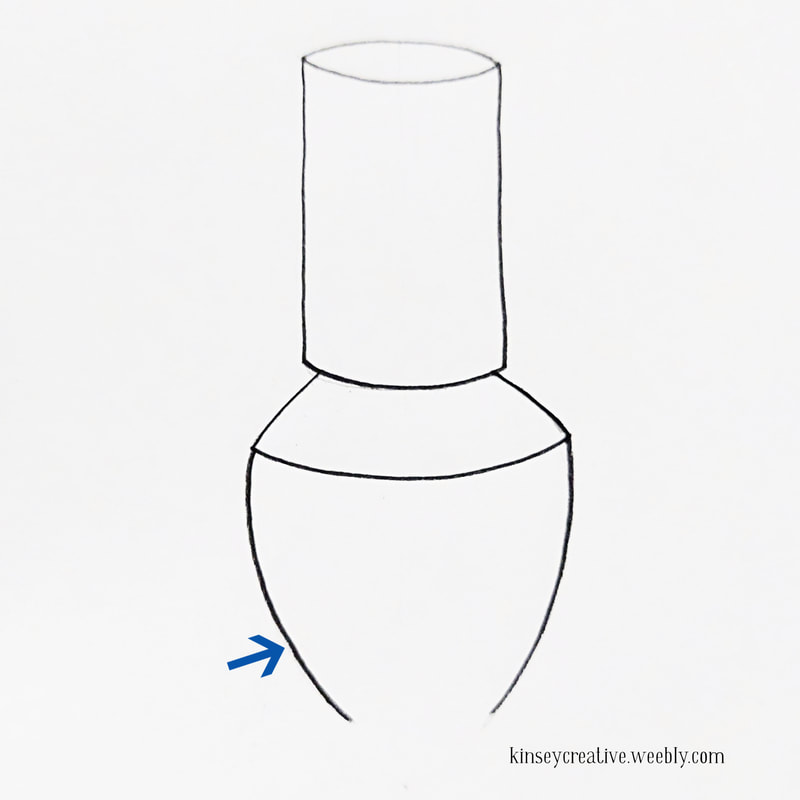 Step Six Step 6. This is the hardest part of the while tutorial. Here you draw two curved downs to make the sides of the bottle. Since this is a doodle, they don't need to extremely perfect. They get them matched as close as possible so the bottle isn't too wonky.  Step Seven Step 7. And connect those two lines with a short curved line to make the bottom of the bottle. Honestly, you could stop there and still have a pretty nice bottle doodle. But let's go one anyway... 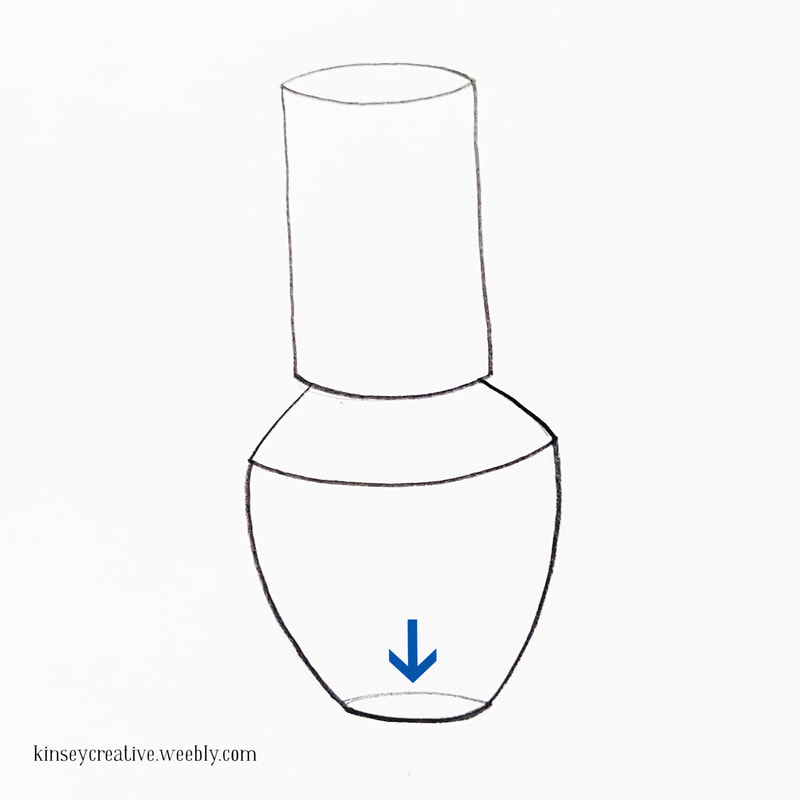 Step Eight Step 8. This is an easy bit. A little curved line, right where the arrow shows in the picture. 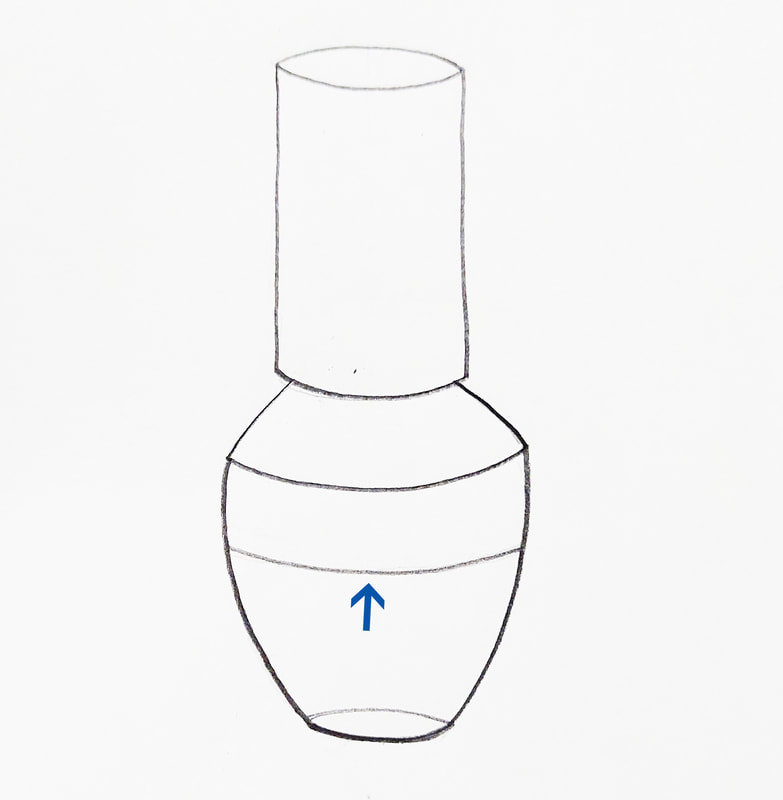 Step Nine Step 9. Part way up the bottle, another curved line. This will be the surface of the liquid polish. 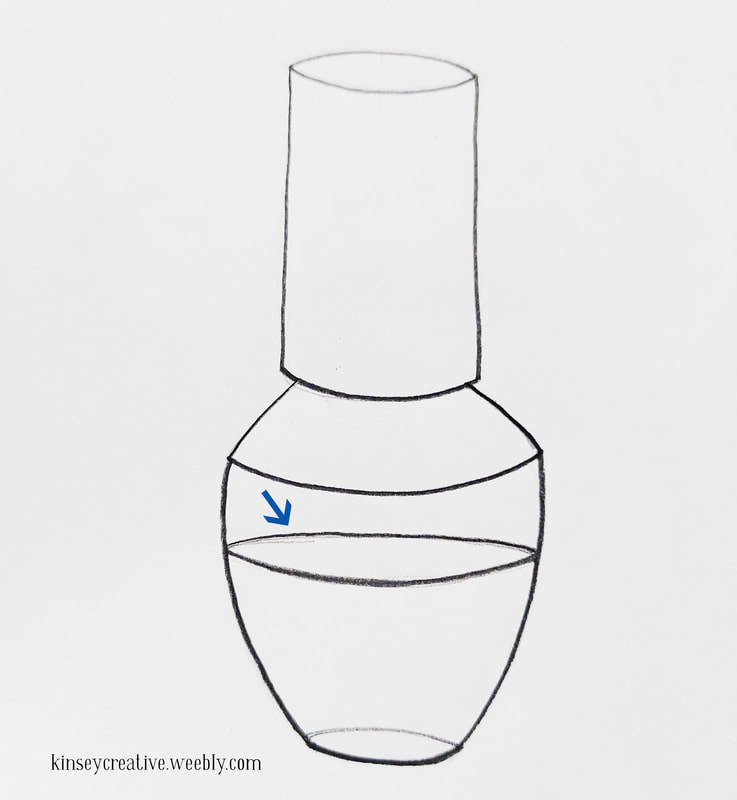 Step Ten Step 10. And yet another curved line over the last one. 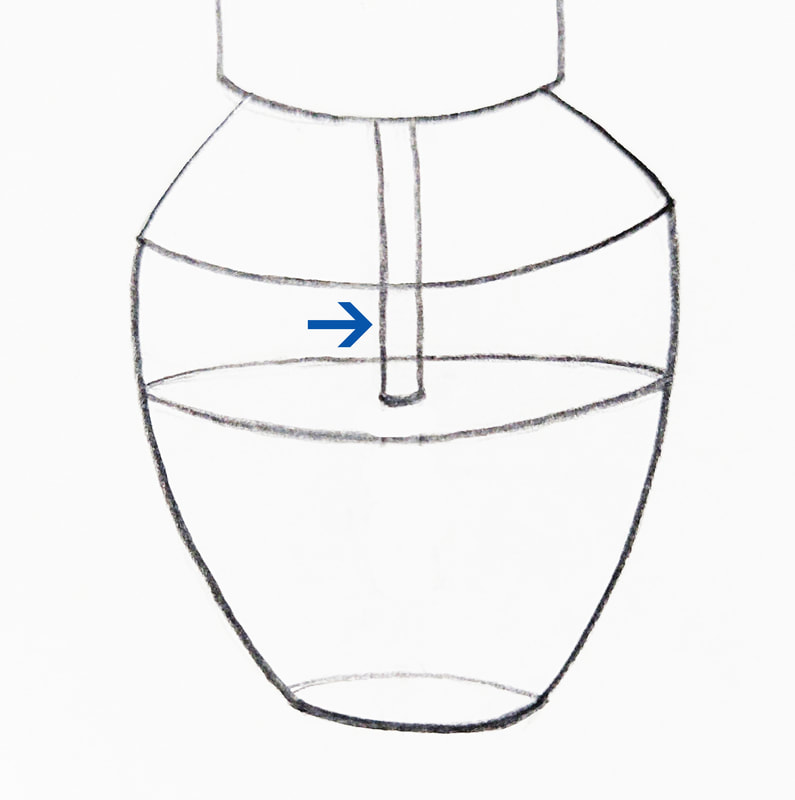 Step Eleven Step 11. Now the brush! That's just two straight lines down, and a slight curved line at the bottom connecting them. 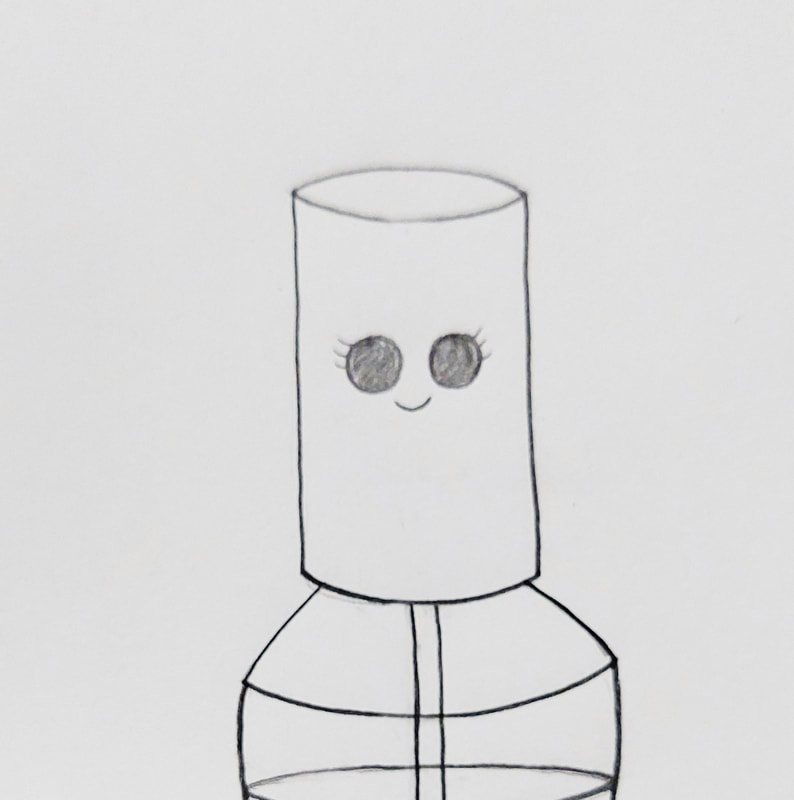 Step Twelve Step 12. Add a face! I put the face on the lid, but you could put it on the bottle if you prefer. And of course, you can put any sort of face on it. Once you're happy with the bottle and the face, it is time to ink! 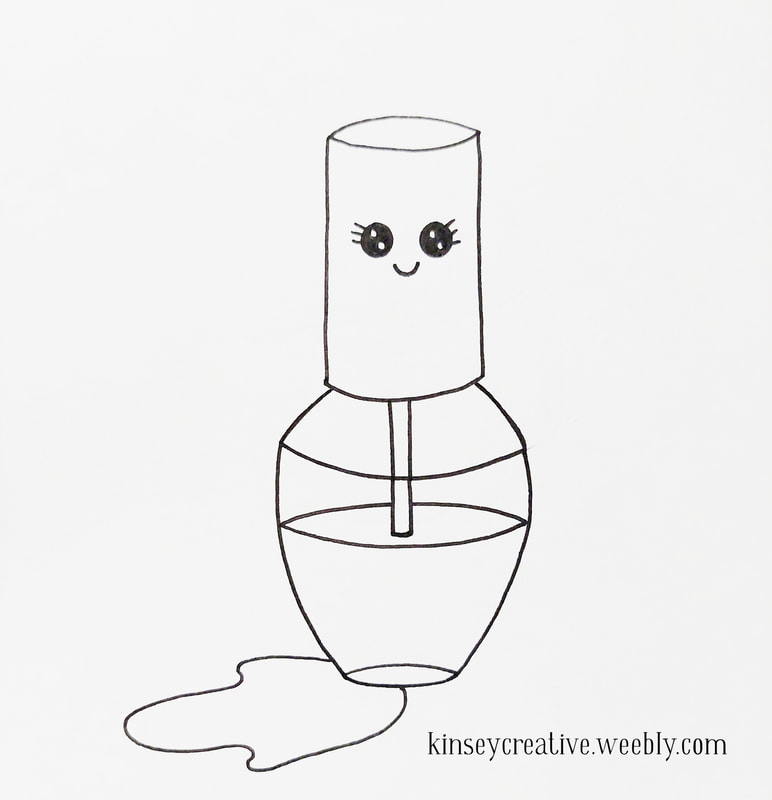 Step Thirteen Step 13. Carefully ink over the lines you want to keep. Let the ink dry a moment so it won't smudge, then gently erase the pencil lines so you have nice clean line art. 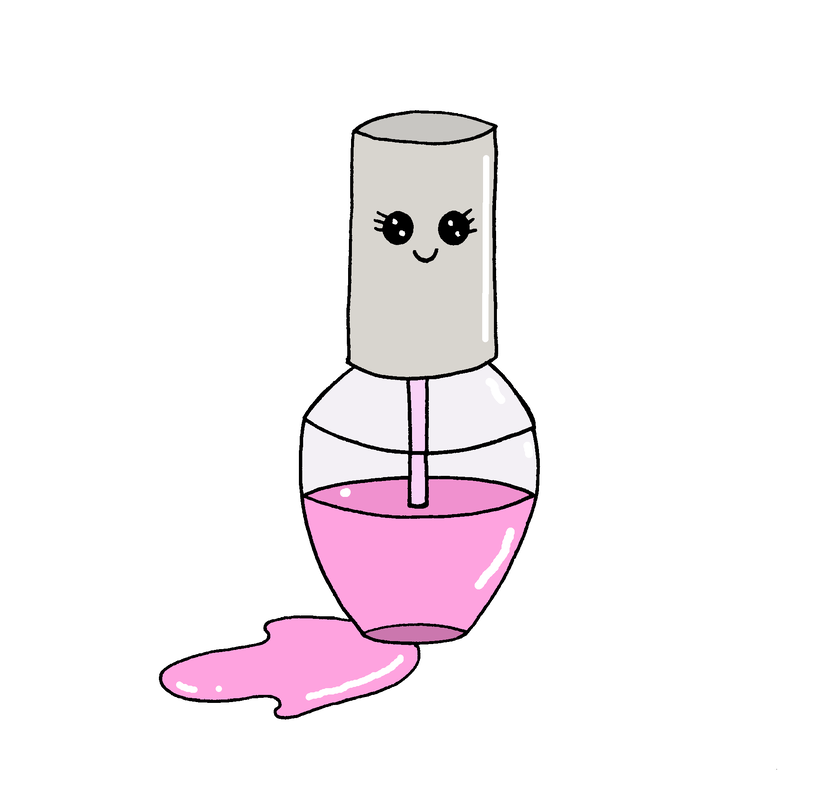 Step Fourteen Step 14. Color your drawing in! You can use whatever coloring materials you like best. I've just quickly used digital fill here to make it fast, but if you are using markers or colored pencils then an acrylic paint pen, white gel pen, or even paint and a brush can be used to make shine marks over your drawing. Now you can make fun nail polish doodles in all the colors you love the best! Thank You! Thanks for reading this tutorial. I hope you enjoyed it! If you want to doodle something else, here are some other tutorials you might like: How to Draw a UFO How to Draw a Cute Whale Doodle How to Draw a Pizza Slice Doodle How to Draw a Potted Cactus
0 Comments
Leave a Reply. |
Archives
March 2024
|
 RSS Feed
